How to Update BIOS on Windows 10 & Windows 11?
BIOS is a term that you might have heard of time by time. We have accessed BIOS when we experienced issues with the booting sequence to wanted to enable virtualization features. Other hardware that was disabled can be enabled from BIOS. However; there will be times when you will need to update your BIOS and that is what we are going to do. Here we will update BIOS on Windows 10 or Windows 11.
Table of Contents
Why update BIOS?

BIOS (basic input-output system) is used to control all the hardware and software. It is BIOS that does all the work between the OS and hardware as the processor, ram, and others.
Even though you don’t need to update your BIOS regularly still there are moments when you need to update it. By updating your BIOS, you will be able to fix issues such as compatibility with both hardware and software.
Your system will be more stable and won’t corrupt easily. Updating the BIOS will also make your system more secure.
While UEFI updates automatically. BIOS on other hand needs to be updated manually. UEFI uses the built-in options to update itself time by time whereas BIOS needs to be updated manually.
Update BIOS on Windows
Let’s begin the process of updating BIOS on Windows.
Check BIOS on Windows
The first thing will be to check BIOS. For this, you are going to Start > RUN. In RUN, you are going to type “systeminfo” and click on OK.
You will find all the details required to find the details about your BIOS. There are other methods too, where you use CMD, System Information, or even third-party applications. For now, this is the easiest way to check your BIOS.
Check Service Tag
To check your service tag, you use PowerShell or flip your laptop and check for any serial number. For now, let’s use PowerShell.
Open PowerShell as administrator from the Start menu.
Use the command below on PowerShell.
wmic bios get serialnumberNow you have your system serial number on your screen. If you want, you can use CPU-Z for this purpose too. Download CPU-Z and install it on your system. Then you are going to run it and check for the serial number.
TIP: you can use “wmic bios get biosversion” to check BIOS version on Windows.
Check System details
Here we are going to note down your system details. Even though you can skip this step, still you are recommended to apply this one. As this will be useful in the future.
You are going to search for System Information in Start. Select System Information and here you are going to note down details of your system.
Details such as Motherboard, motherboard version, BIOS version, and type are things that you will need to give priority to. Then you will continue to the next step.
Download and move to USB
Here you have noted down all the things related to your system. Now you are going to download the latest version of BIOS from the internet. You will visit the official site of your motherboard and then check for the latest version available.
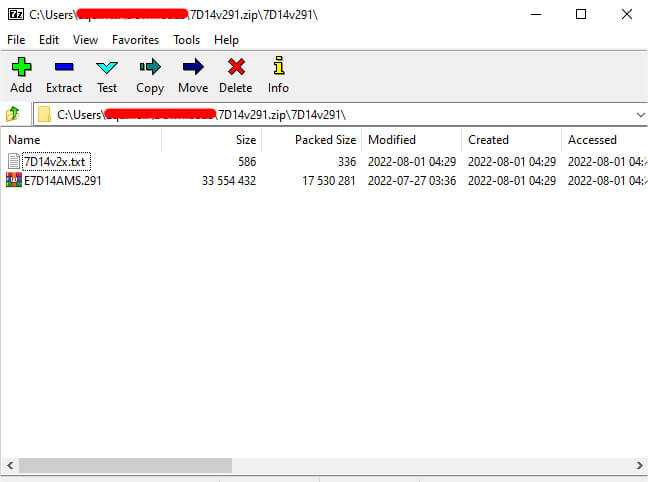
Select the latest version of BIOS and download it. When you will download the latest version, you will find it in a Zip file. Here you will need to use WinRAR to extract all the files.
Insert your 4 GB pen drive into your system and extract all the files on a USB. Before you extract all the files on USB, make sure that you have read the README note inside. As this can help you a lot to understand how things work and what you should do.
NOTE: format your USB before you extract all the BIOS files on your USB.
Change booting sequence
Now you will insert your USB into the machine and restart your system. Go to BIOS by pressing F9 (F10, F8, F2, F12, or other keys) to enter BIOS. Change the booting sequence, make USB as first; save changes, and exit BIOS.
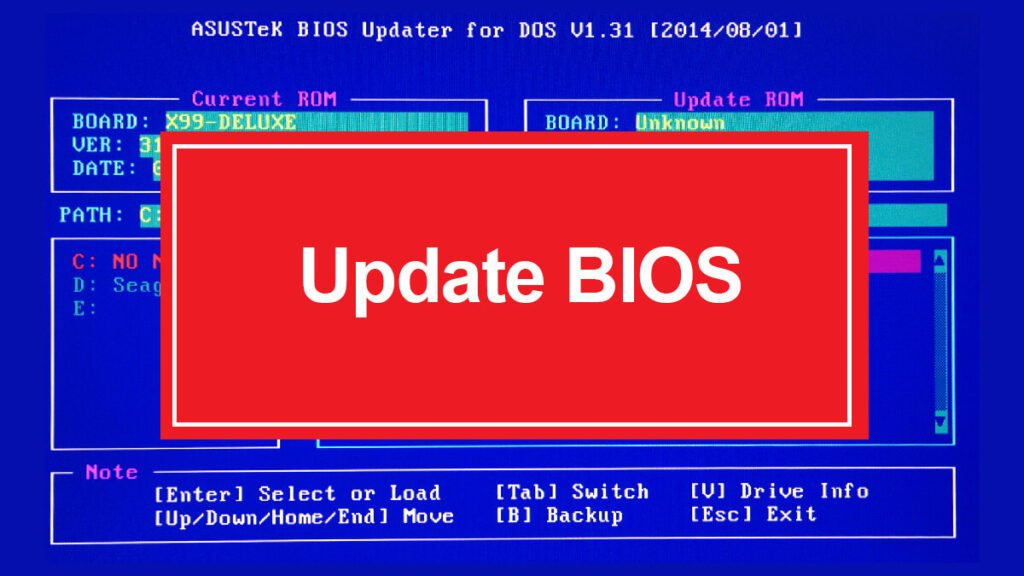
Install an Updated version of BIOS
Now let’s begin the installation. Before we begin the installation of BIOS, you will need to take care of a few things.
Prerequisites
- Make sure your system has a power backup of at least 1.5 hours.
- Don’t disconnect your USB from the system until the BIOS is updated.
- Internet is required for downloading the BIOS files only. Once downloaded there is no need for internet at all.
- Instead of installing the BIOS on your Windows, use BIOS for the installation. This way, during the installation of BIOS there won’t be any third-party application running in the background that can stop the installation.
NOTE: make sure there is nothing to interfere with while you are installing the BIOS. Any kind of interruption can make your system as good as a brick. Your system will be bricked and that is not what we want.
Boot the USB while your system starts and you will be moved. Soon CMD will appear on your screen, here you will follow the instructions given by the app. Once the installation got completed then you will restart your system.
Following the instruction provided by the app will give your a fully updated BIOS. And that is how you update your BIOS on Windows 10 and Windows 11. Almost exactly the same method is applicable to Windows 7 and Windows 8.
BIOS update applications
There are also tons of BIOS update applications provided by officials. These are provided by manufacturers such as Dell, Lenovo, and other that sells computers.
You are going to visit their official page and download the BIOS update applications. Download the application and install it. Once installed, you will run the app and it will begin to download the files.
Once all the files are downloaded the app will ask for installation. Install the BIOS updated files using the app and that is it.
Can’t update Windows 10 due to BIOS HP Pavilion
While updating your BIOS, it is commonly experienced by users “BIOS needs to be upgraded before you can upgrade to Windows 10 – manually uninstall”. You will need to flash the bios by holding Windows+B keys with Power on for 3 secs. With some systems, you will need to hold Windows+B keys with Power on for 8-12 seconds. This will update your BIOS.