Best Method to Change/Increase Virtual Memory on Windows 11
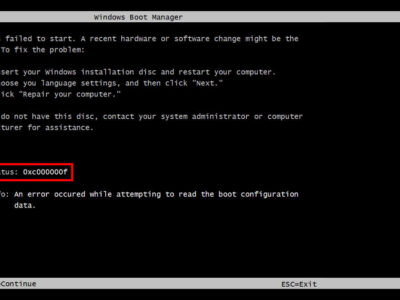
If you have experienced “Your system is low on virtual memory.” on your Windows 11 or Windows 10 then here, you are going to fix it. By changing/increasing Virtual Memory on Windows 11, the error can be easily fixed.
Before we start, if you are confused about what virtual memory is, then here is a quick explanation. Virtual Memory or paging files are files that are hidden by default and are used for temporary less frequently used modified files from your RAM.
To make it clear, this is a portion of your hard disk that is used as an alternative to RAM to make your machine run. Instead of using RAM, your OS uses this portion of your hard disk to help your RAM. The feature is utilized by Memory Management and its size can be changed.
Related Topic: How to Create a full Windows 10 Image Backup?
Table of Contents
Why to Change Virtual Memory size?
If the question has arrived in your mind on “should I Increase Virtual Memory on Windows 11 or Windows 10?” then here are some of the reasons why you should.
Note: the change is required if you are experiencing error or performance issues.
- Increasing the virtual memory size can improve your systems performance.
- By increasing the size, you can improve the stability of applications on your system. As having low space can lead to locking of apps which can cause stability problems.
- Instead of overloading your RAM, you can use this memory.
- Increase the virtual memory on Windows 11 or 10 to avoid the “Your system is low on virtual memory.” error.
- It can be also used for improved and well managed data mapping by MMU.
How to Increase Virtual Memory on Windows 11?
Since each device has a different and unique size, there is no specific number. It is recommended to use one-half of the total size for the Initial size and three times more than the Initial size for Maximum size. You can also use the same methods on Windows 10 too. So, increase Virtual Memory on Windows 11 two different methods are used:
- There is option to use Settings in your Windows
- Or you can use CMD (command prompt) on your Windows OS
Use Settings Increase Virtual Memory on Windows 11
Start the procedure by going to Setting which is present in the Start menu. You can also use Windows+I keys on your keyboard to get inside the Settings.

In Settings, you will find System. select System and click on About which is on the right side of your screen.
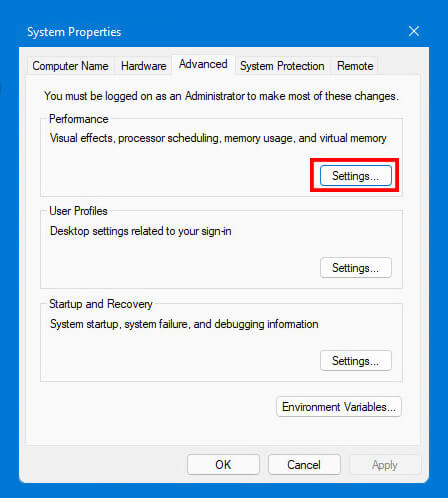
Then click on the Advanced > Setting to move to the next step.
Here you will click on Settings which is in the Advanced section and right under the Performance.

Now in the Performance Options window, select the Advanced and click on Change in Virtual Machine section.
There you will uncheck Automatically manage paging files size for all drives and will select the Custom size option.

Insert the memory in Initial size (MB) and Maximum size (MB) and click on Set.
Click on OK and again select the OK.
Here you are going to reboot your Windows 11 and you have successfully changed the virtual memory of your Windows OS.
Related Topic: How to Increase C Drive Space in Windows 10?
Increase Virtual Memory on Windows with CMD
To use this method, you are going to run CMD as an administrator. Go to the Start menu and search for CMD and right-click on it then select the Run as administrator option.
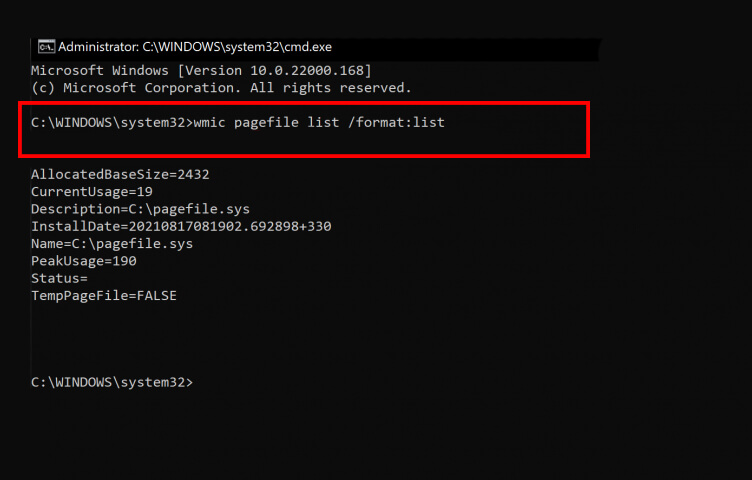
You will use the command below and press the Enter key.
wmic pagefile list /format:list
The command above will get you inside the Virtual Memory settings. Then you will use the command below:
wmic computersystem where name="%computername%" set AutomaticManagedPagefile=falseNow you are going to access the user’s account to change the settings. You have to change the “%computername%” with your computer name. here is how to check on Windows 11: Settings > System > About.
wmic pagefileset where name="C:\\pagefile.sys" set InitialSize=YOUR-INIT-SIZE,MaximumSize=YOUR-MAX-SIZE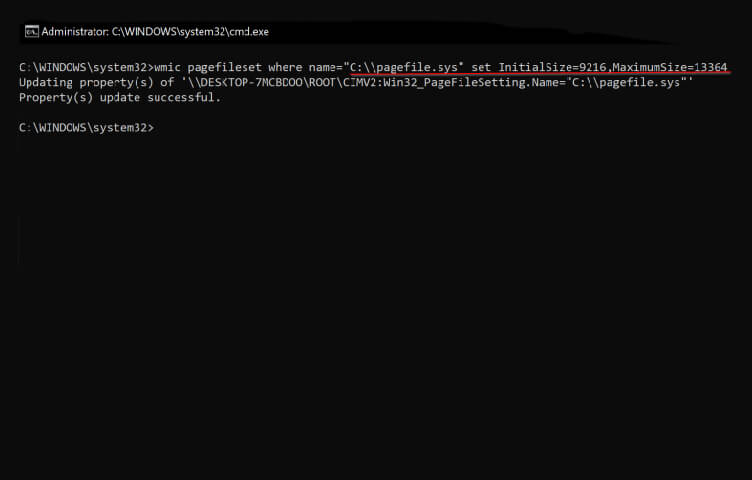
The command above will decide the initial and maximum size of your virtual memory. Make sure you have replaced the “YOUR-INIT-SIZE” and “YOUR-MAX-SIZE” with the amount/number that you want to use.
shutdown -r -t 00Here you can close the CMD and restart your system normally or you can use the command above to restart your system directly.
Related Topic: How to Transfer Data from One SSD to Another on Windows?
Change the Virtual Memory to default
If you want to change your customized virtual memory of your Windows OS to earlier (default) then you will need to use the command below on CMD.
wmic computersystem where name="%computername%" set AutomaticManagedPagefile=trueRestart your system and you have successfully changed the virtual memory to default.
Related Topic: How to Convert MBR to GPT on Windows 10?