
Download VMware Tools for VMware Workstation
After the installation of macOS on VMWare, you will notice that there are some issues with the macOS. There are a number of cases where users experience slow performance, poor screen resolution, low graphics, and more. The reason behind all these errors is because VMware doesn’t support macOS officially.
Using any macOS on any devices other than Apple’s violates Apple’s policies. So, VMware is not allowed to create a platform for using macOS. We all know, to use macOS on VMware workstation, there is a need for VMware Unlocker. VMware Unlocker enables you to use the macOS on VMware but it doesn’t give you the full experience.
To experience the macOS at its fullest, you will need to download and install macOS VMware Tools on VMware workstation. The macOS VMware Tools allows users to experience faster performance, quick drag, and drop options between the guest OS and host OS. And above all, it makes VMware more responsive.
Related topics: How to install macOS Big Sur on VMware workstation?
Table of Contents
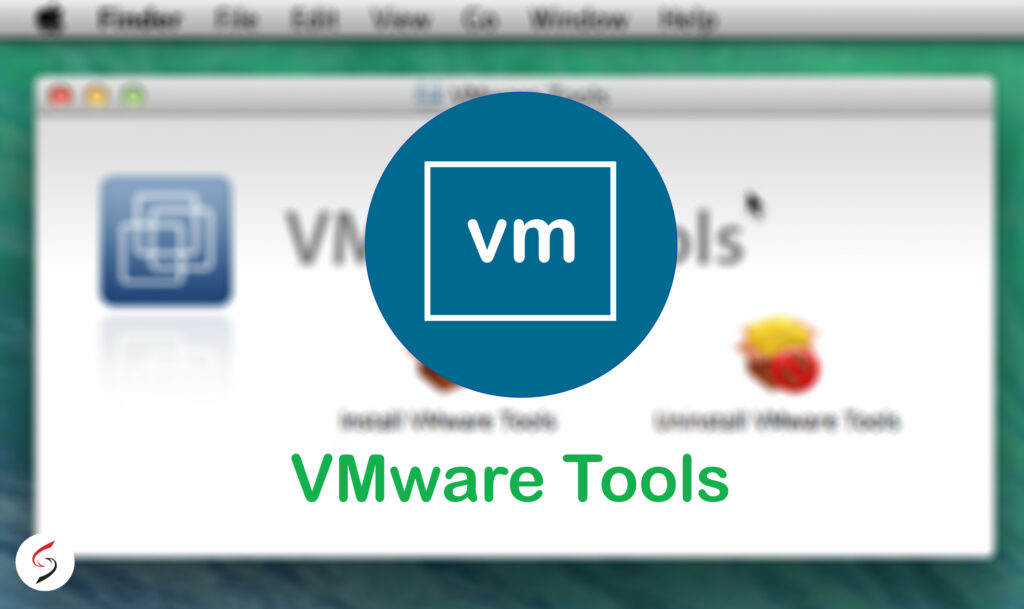
Download VMware Tools on macOS
The first thing you will need to do is to download VMware Tools. VMware Tools is a package used to improve the performance, responsiveness, provides better graphics and resolutions as we declaimed earlier. This is the latest version of VMware Tools currently. On every new release, we will try to provide you the latest version of VMware Tools as soon as possible.

File: VMware Tools
Size: 4.5 MB
Developer: VMware
Last updated: 13, 7, 2020
Install macOS VMware Tools on macOS
Here we have performed the operation on macOS Big Sur however, you can perform the same operation on earlier macOS versions like macOS Catalina, macOS Mojave, macOS High Sierra, or any other version.
Basically, there are two ways of installing VMware Tools on macOS Big Sur. There is the first method, which is automatic and is quite simple. You will just need to right-click on macOS Big Sur tab> Install VMware Tools… However, this method might not work for most of the users which bring us to manually installing VMware Tool on macOS.
Just follow the instructions given below to install macOS VMware Tools on any macOS.
Step 1: Download and select the VMware Tools for VMware Workstation
Here we are going to link the VMware Tools with the virtual machine. We have provided direct links to download VMware Tools for your macOS. And there is no doubt that you also downloaded the file by now. By any chance, if you have not downloaded the file first, then follow the steps.
#1 Open Settings.
You will need to open the settings of VMware for the installation. Here is how you can access to Settings, Right-click on macOS Big Sur tab > Removal Devices > CD/DVD (SATA)> Settings…
#2 Switch to CD/DVD (SATA) section

Virtual Machine Settings are opened, select the CD/DVD (SATA) section.
#3 Browse and select the VMware Tools.

Now, Virtual Machine Settings are opened and the CD/DVD (SATA) section is in front of you. On the top, you will see the Connected and Connected at power on option. Check the boxes of both options and below that click on the Browse… button. Find the VMware tools you have downloaded, select the file, and click on open.
Again you will be placed to Virtual Machine Setting in CD/DVD (SATA) section. However, this time you will need to click on OK. The Virtual Machine Setting window will be closed but soon the Virtual Tools will appear on your screen.
Related topic: How to install macOS Catalina on VMware Workstation?
Step 2: Install the VMware Tools
In this section we are going to install VMware Tools.
#1 Install VMware Tools

So, in the VMware Tools window, click on install VMware Tools button.
#2 Welcome window
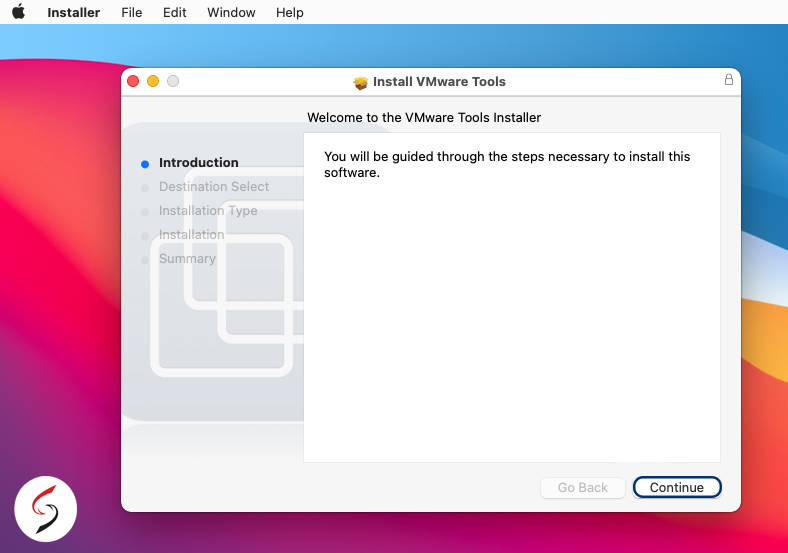
A Welcome windows will appear, click on the Continue.
#3 Select destination and continue installation

In this step, you will need to select the destination where you want to install the VMware tools. After selecting the location a small pop up for continued installation will appear. Agree with it and click on Install.
#4 Type username and passwords

Type your username and password of your system and click on Install software.
Step 3: Allow VMware Tools through macOS Big Sur Security
Now, the application is about to get installed. However, security preferences of macOS are stopping the installation. Therefore, we are going to enable the app in security preferences.
#1 Allow vmware tools

Here a small pop up called System Extension Blocked will appear. Click on Open Security Preferences option below the OK button.
#2 Unlock VMware Tools

Another window will open. On the left bottom of the window, you see a lock pad icon. Click the lock pad icon given and it will unlock the application.

However, before unlocking it may ask for system Username and Password. Fill the required data and click on Unlock. Before leaving the window, please try to find the line “Some system software was blocked from loading…” In front of the same line, you will find a small button called Allow and click on it.
Related topic: How to perform screen sharing over internet on Mac?
#3 Enable the VMware

As you have clicked on Allow a pop up will appear. Then select the VMWare, INC and click on OK to enable the extension from security & privacy window. Soon, a small pop up window will appear again, click on Not now, then close the security & privacy window.
#4 Restart virtual machine
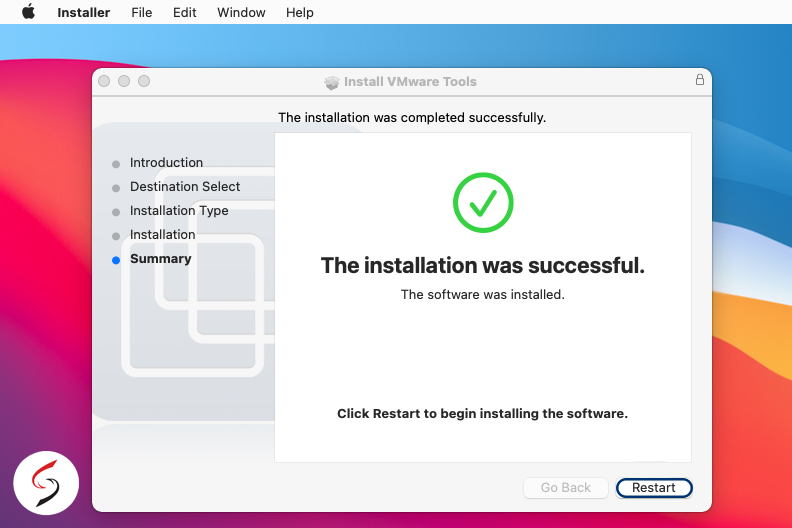
Enabling this system software requires a restart, which you can perform by clicking on Restart button. It depends on you either you click on Restart or you close the windows (Not Now) and then restart your virtual machine.
Congratulation, you have successfully downloaded and installed VMware Tools on macOS Big Sur inside VMware Workstation.
Related topic: Download and install iTunes on macOS Catalina?
Reinstall VMware Tool
There are moments when you due to some reasons, the VMware Tools won’t work properly. In such cases, we would like to recommend you on reinstalling VMware tool on your macOS.
#1 Connect VMware tools
In the first step of reinstalling VMware tool, you will need to connect it with your virtual machine. We have performed that in detail in Step 1. It includes all the step like right-click macOS tab > Removal Devices > CD/DVD (SATA)> Settings… and select the application.
#2 Install VMware Tools
Install VMware Tools will appear. Follow all the instructions and install it on your VMware workstation.
#3 User name and pass
Type your user name and password and install the software.
#4 Restart
Restart you virtual machine, as it is required to do.
#5 Login
Now, login to your system and that is all. You have successfully reinstalled your VMware tool on your macOS.
There are misconceptions like there is another way to reinstall it. In fact, the reinstallation is the same as the installation.
And there was our small tutorial on installing and reinstalling VMware Tools on macOS in VMware Workstation. If you are confused in any of the sections, or the download link of VMware Tools is not working properly. Please let us know in the comment section. Any kind of suggestion is appreciated.

