Finally Fixed: Reset Failed No Changes Were Made in Windows 10

If you’ve ever tried to reset your PC and received the error message “There was a problem when resetting your PC. No changes were made” then you know how frustrating it can be. Resetting your PC is often a last resort to fix serious issues, and when it doesn’t work, it can leave you feeling stuck and uncertain of what to do next. But don’t give up just yet.
This message can indicate a variety of underlying problems, such as corrupted system files or hardware issues. Here we’ll dive into the possible causes of this error message and provide solutions to help you overcome it, so you can successfully reset your PC and get it back to working as intended.
Table of Contents
Fix “There was a problem when resetting your PC. No changes were made”
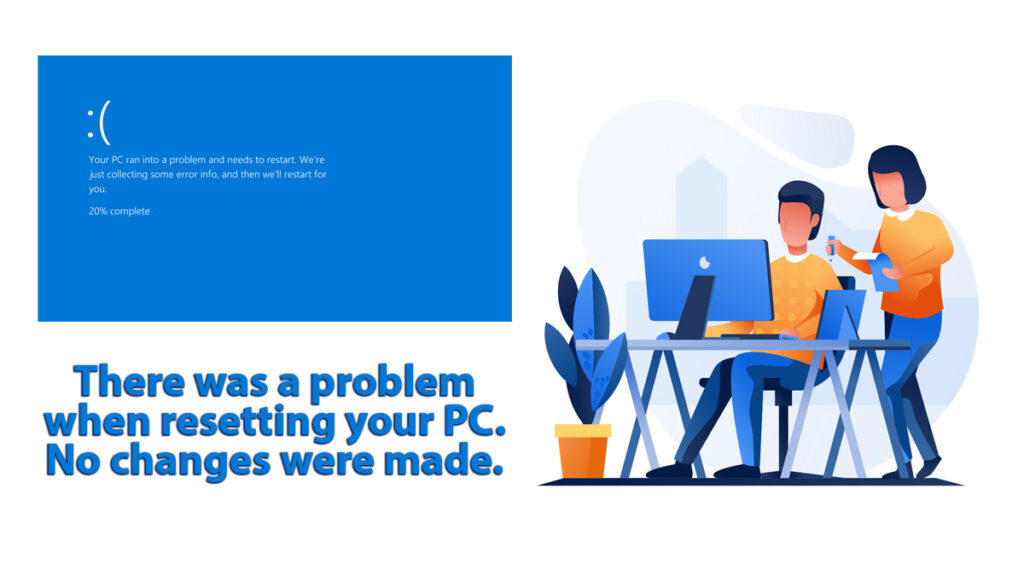
Receiving the error message “There was a problem when resetting your PC. No changes were made” can be a frustrating experience for PC users. It can happen for a variety of reasons, such as corrupted system files, hardware malfunctions, or outdated drivers.
Regardless of the cause, encountering this error can leave users feeling uncertain about the state of their PC and unsure of what steps to take next. It’s important to understand that there are potential solutions to this problem, and it’s not necessarily a sign of a permanent issue with your device.
By learning more about the possible causes of this error and following recommended troubleshooting steps, you can take proactive measures to resolve the problem and ensure your PC is running smoothly.
Reset your Windows PC
You have probably tried to reset your PC by applying this method:
Went to Start > Settings > System > Recovery. Opened Recovery settings and next to Reset this PC, selected Reset PC. Now you want to fix it and here is how you are going to fix it.
Uninstall updates
Before we apply any of the methods given, please check this quick fix. Mostly the issue is due to a recently installed update on your OS. By uninstalling the recent update, you might be able to reset your PC.
To reset, you are going to click on the Start button, then select Settings > Update & Security > Windows Update > View your update history > Uninstall updates.
Now that you have removed recently installed updates and still can’t reset your PC then you are going to use the method given.
Method 1: Run SFC and DISM in CMD
Opening Command Prompt (CMD) as an administrator in Windows 10 can be useful when you need to run certain commands that require elevated privileges. Here’s how you can do it:
- Click on the Start menu and search for “Command Prompt” in the search bar.
- Right-click on the “Command Prompt” icon and select Run as administrator from the context menu.
- If prompted by User Account Control, click Yes to grant administrative access.
Alternatively, you can also press the Windows key+X on your keyboard to open the Quick Link menu, then select “Command Prompt (Admin)” to launch Command Prompt with administrative privileges.
Now you are going to use the command:
sfc /scannowLoading will take place. Once the process got completed then you will use the other command give:
dism /online /cleanup-image /restorehealthNow, wait for the process to complete. Once completed then you will restart your PC.
Method 2: Proceed with Startup Repair
It runs automatic diagnostics and repairs to detect and resolve any problems that may be causing startup issues. This feature can be accessed through the “Advanced options” menu on the Windows 10 “Automatic Repair” screen. Here’s how you can do it:
Start your Windows 10 PC and wait for the “Automatic Repair” screen to appear. If your PC doesn’t automatically enter this mode, you can force it to do so by turning it off and on three times.

On Automatic Repair, select Advanced options.
In the next screen, select Troubleshoot.
Then, select Advanced options again.
Select Startup Repair from the list of options.
Your PC will then begin diagnosing and repairing any startup issues. Once the process is complete, you’ll be prompted to restart your PC.
If the repair was successful, you are now able to reset your PC. If the repair process is unable to fix the issue, you may need to try other troubleshooting methods given below.
Method 3: Restore from a system restore point

Creating a restore point in Windows is a good practice to help protect your system in case of unexpected issues or errors. A restore point is a snapshot of your system’s settings and configuration at a specific point in time. If you encounter a problem later on, you can use this restore point to revert your system back to its previous state.
However; like many, there is a great possibility that you haven’t created one. Those who have created a restore point of Windows 10 can restore their Windows to one of the previous states.
Still, users who haven’t created one are recommended to skip to the next method.
Method 4: Change a few Registry files
In this method, we are going to rename “system” and “software” from System32/Config. You can either open the Registry Editor and navigate to System32/Config then changes the names. Or you can use these simple commands on CMD one by one.
First, you will open CMD as admin. Remember, you will need admin privileges to run these commands:
cd %windir%\system32\configren system system.001ren software software.001Method 5: Disable ReAgent.exe
To disable ReAgent.exe on Windows 10 using CMD (Command Prompt), follow these steps:
Open Command Prompt as an administrator. To do this, right-click on the Start menu, then click on Command Prompt (Admin).
Type the following command and press Enter:
reagentc /disableThis command will disable the ReAgent.exe service. Close the Command Prompt.
Note: Disabling the ReAgent.exe service may prevent you from using some system recovery options, so use this command with caution. If you want to re-enable the ReAgent.exe service, use the following command instead:
reagentc /enableMethod 6: Restart Windows Defender
There is a slight chance of Windows Defender preventing you from bringing any new changes. It can be due to Windows Defender mistakenly taking the new updates or any application as a threat. And now, you are not able to use your OS fully. For this, you can also use the Command Prompt to restart the Windows Defender service:
- Open Command Prompt as an administrator.
- Type the following command and press Enter:
net stop WinDefendThis command will stop the Windows Defender service. Wait for the service to stop.
Type the following command and press Enter: This command will start the Windows Defender service again. Wait for the service to start.
net start WinDefendClose the Command Prompt.
Related Topic: Turn OFF Windows Defender on Windows 10
Related Topic: Turn OFF Windows Defender on Windows 11
Method 7: Perform Clean Installation
Performing a clean installation of Windows 10 can be beneficial in several ways. Firstly, it can help remove any unwanted programs, malware, and other system files that may be causing performance issues or errors on your computer. Secondly, it can help improve the overall stability and speed of your computer by providing a fresh start for the operating system.
Additionally, a clean installation can be useful if you are planning to upgrade your hardware or if you want to ensure that your computer is free from any previous customization or configurations that may interfere with the new hardware or software you plan to install.
And those who wanted to reset their system can experience exact same thing by performing a clean installation.
However; we have to be careful about our personal files. You are recommended to have a backup on a removable hard disk. This way, you can perform a clean installation without any concern for your personal files.
Related Topic: Windows 7 Installation: Install Windows 7 from the USB
Here are the detailed steps to perform a clean installation of Windows 10:
NOTE: Before proceeding with a clean installation, it is essential to back up all your important files, including documents, photos, and music, to an external hard drive or cloud storage.
You need to create a bootable USB drive or DVD containing the Windows 10 installation files. You can use the Windows Media Creation Tool to create a bootable USB drive or DVD.
Insert the bootable USB drive or DVD into your computer and restart the computer. Press the appropriate key to enter the boot menu, usually F12 or Delete, and select the bootable installation media.
Once the computer boots from the installation media, you will be prompted to choose the language, time and currency format, and keyboard layout. Click the Next button to proceed.
On the next screen, click the Install Now button to begin the installation process.
You will be prompted to enter the product key. Enter the 25-digit product key, or click the I don’t have a product key option to continue the installation.
Accept the license terms: Read the license terms and click Accept to proceed.
Choose the installation type: Select the Custom: Install Windows only (advanced) option to perform a clean installation.
Choose the hard drive where you want to install Windows 10, and click the Next button to proceed.
Wait for the installation to complete: Windows will start installing on your computer. The installation process may take a while, depending on the speed of your computer.
Once the installation is complete, you will be prompted to set up Windows 10, including creating a user account, setting up preferences, and connecting to a network.
Finally, you can restore your important files from the backup you created earlier.
Encountering an error message such as “There was a problem when resetting your PC. No changes were made” while attempting to reset your PC can be frustrating and worrisome. However, with the steps outlined in this guide, you can successfully troubleshoot and fix the issue, allowing you to perform the reset without any further problems.
What causes the “There was a problem when resetting your PC. No changes were made” error message?
The error message usually appears when there is an issue with the operating system or a problem with the reset process. Some common causes include corrupted system files, software conflicts, or issues with hardware components.
How do I fix the “There was a problem when resetting your PC” error?
There are several ways to fix the error, including running the system file checker, checking for software conflicts, and performing a clean boot. Another option is to use a third-party tool to reset your PC.
Will resetting my PC delete all my files?
Yes, resetting your PC will delete all your files, including documents, photos, and music. It is essential to create a backup of your important files before resetting your PC.
Can I reset my PC without losing my files?
Yes, you can reset your PC without losing your files by choosing the “Keep my files” option when resetting your PC. This option will remove apps and settings but keep your personal files intact.
How long does it take to reset my PC?
The time it takes to reset your PC varies depending on the speed of your computer and the size of your hard drive. Typically, it can take anywhere from 30 minutes to several hours.