How to Install Android Studio on Windows 10?
Android studio is a great IDE (Integrated Development Environment) for developers. You can use it to develop apps for android based platforms such as android phones, tablets, Android Wear, Android TV, and Android Auto. However; you are here to install Android Studio on your Windows 10 and that you are going to get. Bear with me till the end to install the Android Studio on your Windows.
Table of Contents
System requirement for Android Studio on Windows
Before we continue any further, ensure you have the right specs to run the app. For checking if you have the right specs or not, you are going to Start > Settings > About. In Settings, you are going to scroll down and find About. Select about and you will find all the details for your Windows 10. You are going to need the following to perform the installation of Android Studio.
OS: Windows 7/8/8.1/10 (64-bit only). The application doesn’t support 32-bit systems.
Processor: 2nd generation of Intel Core (Core i7, i5, i3) or AMD CPU with support for a Windows Hypervisor.
RAM: 4GB (8GB recommended for running the application smoothly)
Storage: 4 GB (Extra space for IDE + Android SDK + Android Emulator). It is recommended to have at least 25+ GB of free storage, as the extra space will be used by the project in the future.
Screen Resolution: 1280×800 is recommended. You will need more graphical power if you want to run things smoothly and your system won’t heat up quickly.
Required App: Java Development Kit 8 or later.
How to download and install android studio on Windows 10

Now let’s talk begin the installation. To install Android Studio, first, we need to install Java JDK (if you already have Java, then skip this part).
1- Download Java JDK on your Windows
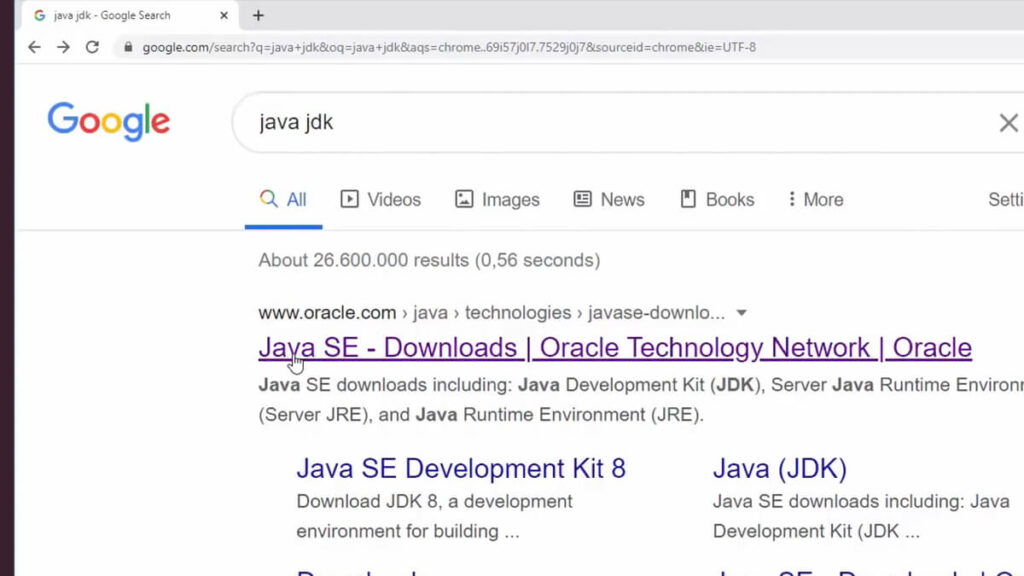
Step 1: Begin the process by downloading Java JDK for your Windows 10. Here this link will help you to download it.
Step 2: Then you are going to select the file according to your System and download the file. Begin the installation of your JGK.
Step 3: Double-click on the downloaded file and the installation windows will pop up.
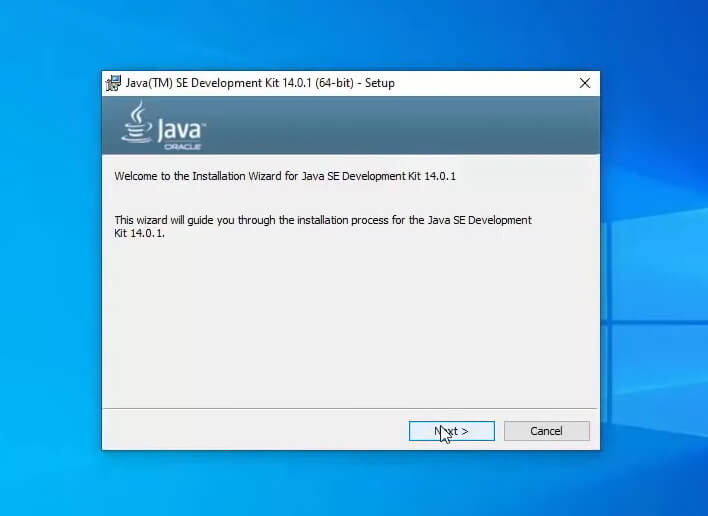
Step 4: Click on Next, choose the installation location, and click on Next.

Step 5: installation process will begin, once got completed then you will click on Close.
2- Configure the Java Environment for Android Studio installation

Step 1: Here we are going to set the environment for Java. Head to the Java file location, and open the bin folder. It will be something like C > Program Files > Java > jdk8 > bin.
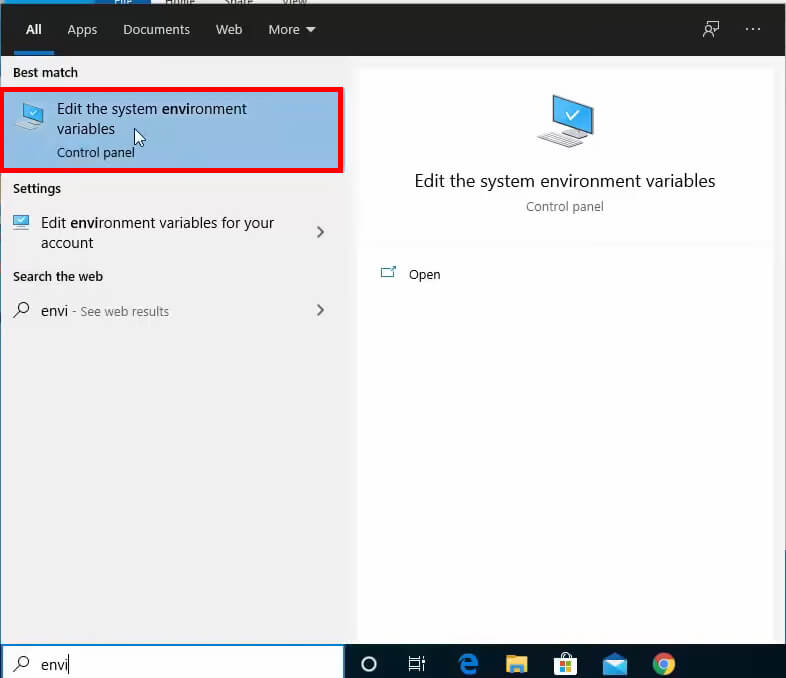
Step 2: Now click on Edit the system environment variable through Control Panel. There is also an alternative way, go straight to the Start menu and search for Edit the system environment variable.
Or you can right-click on This PC and select Properties. You are now in Control Panel. Here you will select Advanced System Setting and then click on the Advanced section.

Step 3: In the Advanced section, click on the Environment Variables… button.

Step 4: Under the system variable, select the Path and click on Edit.
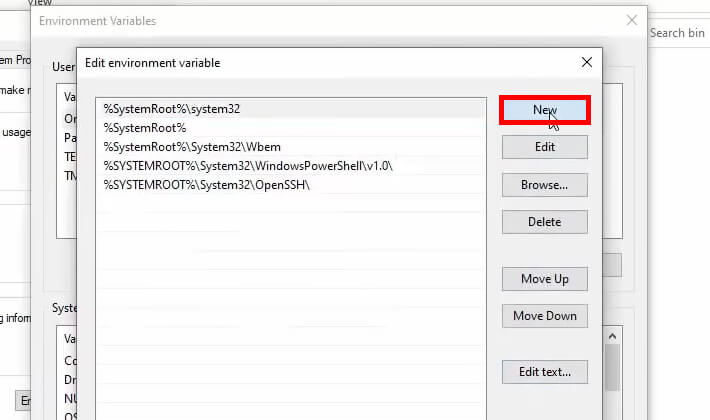
Step 5: Click on New, and in the box, write the path to your bin folder inside the folder of JDK. And click on OK.
Note: Some applications might require Java Home to be added to the environment variable, so to add Java Home, just follow the following steps.

Step 6: In the environment variable being open, click on New once again.
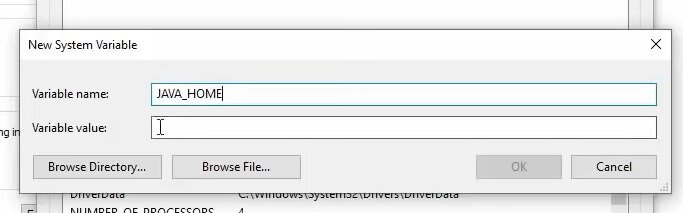
Step 7: In the Variable Name, write “JAVA_HOME”.

Step 8: And in Variable Value, write the path to the JDK folder. And click on OK.
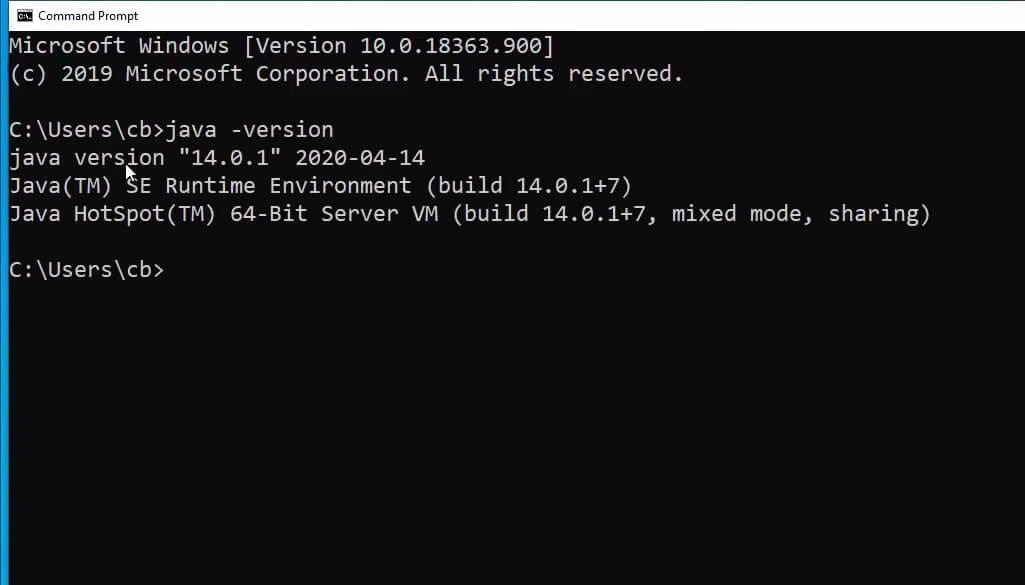
To check if the Java command is working with the command prompt, open the CMD and type “java -version”; if the CMD showed the following message, it’s working fine.
3- Android Studio
Now that Java JDK is installed, we can start to download and install Android Studio.
Step 1: Open your browser and search for Android Studio. Click on the site provided by “developer.android.com” since it’s their official site.
Step 2: Click on the Download Android Studio button. Read and Accept the Terms and Conditions and click on Download Android Studio for Windows.
Step 3: Once the download is complete. Open the Executable file, and click on Next.
Step 4: Here, you can choose to install Android Virtual Device (an Android emulator). We suggest you keep the box checked and click on Next.
Step 5: Choose an installation location for Android Studio; otherwise, click on Next.
Step 6: Click on Install to initiate the installation.
Step 7: Wait for the installation to complete and click on Next.
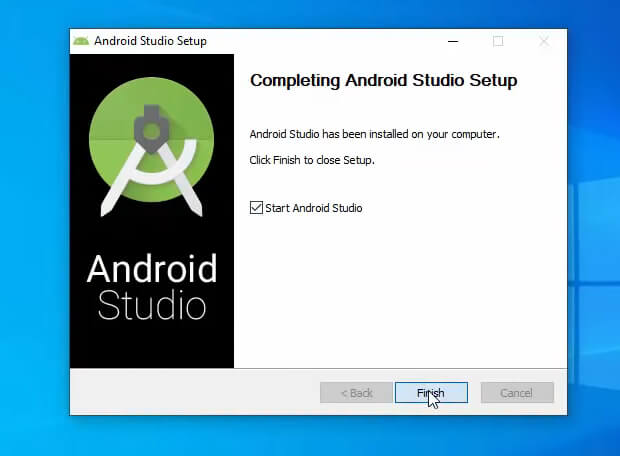
Step 8: At last, click on Finish.
We have installed Android Studio, but yet we have set it up.
4- Set up Android Studio on Windows 10
Step 1: Upon opening Android Studio for the first time, you will be asked if you want to import your data from the last Android Studio. But since it’s our first time, select the Do not import settings and click on OK.
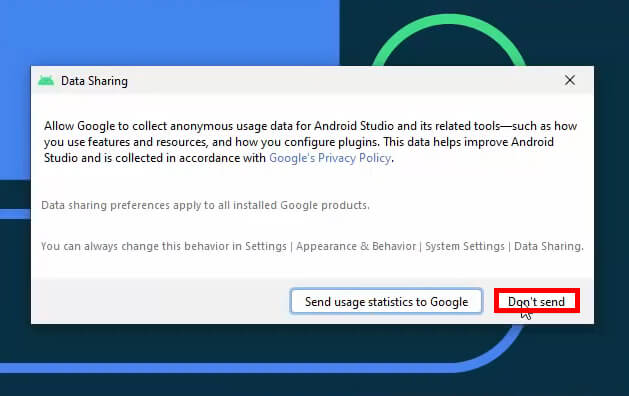
Step 2: This step is optional. You will be asked if you want to send your usage data of Android Studio and related tools anonymously to Google to improve Android Studio. You can accept it or skip it.
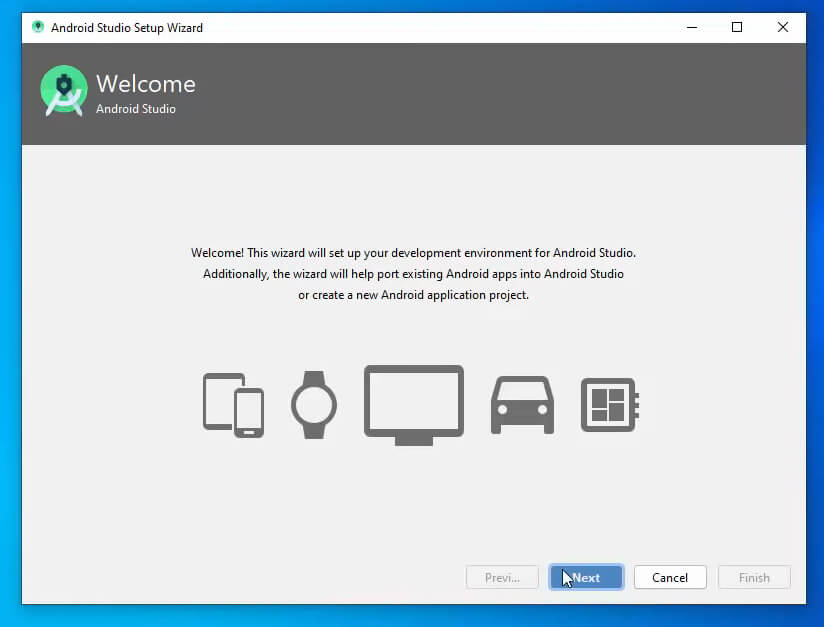
Step 3: On the Welcome window, click on Next.
Step 4: Here, you will select Android Studio type; we will go with Standard since it’s recommended for most users.
Step 5: Select the UI theme for your Android Studio and click on Next.
Step 6: In the following window, you can verify all the settings; if you are confident with the settings, click on Finish. Wait for Android Studio to download all the extra tools and components.
Step 7: Click on the Finish button once completed.
A brief introduction to Android Studio
Android Studio is an IDE (Integrated Development Environment) used to develop Android or build different kinds of apps for Android devices. It was built on IntelliJ IDEA (IDE), which was developed by JetBrains s.r.o. (a software development company).
The initial program Google used to use for dev of Android
Initially, Android used to get development by using Eclipse Android Development Tools (E-ADT). But on 16 May 2013, Google announced the Android Studio at the Google I/O conference and released the stable version in December 2014.
What caused Google to change its preferred programming language?
Android Studio is faster than E-ADT since it doesn’t need any plugins and doesn’t need many resources to start either; Android Studio is based on IntelliJ’s Idea Java IDE.
What does Google use now for app development?
Ever since the initial release of Android Studio, more and more developers are switching to Android Studio as their primary IDE. Android Studio has many vital features which have made it unique among other Android IDE; the features include:
Features of Android Studio
Gradle based built
Android Studio has Gradle-based build support, allowing more freedom of customizing build, flexibility, dependency resolution, and much more.
Code refactoring
Android Studio has a specific built-in code refactoring, which allows the developers to restructure existing code to improve the design, performance, and structure. And moreover, code readability, reduction in complexity, source code’s maintainability, and creating a more straightforward, cleaner internal structure without changing its external behavior and preserving its functionality.
Helpful tools
The Android Studio has many tools, among which some of them are unique, like Lint or Pro Guard, etc. The lint tool is used to point out bugs, programming errors, performance, usability, version compatibility, and other problems. Pro Guard is a tool that shrinks, optimizes, and removes unused instructions.
GUI & Layout editor
Android Studio has a much smoother and user-friendly interface. And the layout editor allows the user to drag and drop UI components, making it easier to create a new layout.
Built-in emulator
The rich Android emulator is faster than an actual Android device and allows you to prototype and test your app on various Android devices, including Android phones, TVs, Smartwatches, and Tablets.
Built-in support for Google Cloud Platform
Android Studio has built-in support for Google Cloud Service, allowing interaction with Firebase Cloud Messaging and other Google app engines.
Conclusion
And that’s it you have successfully downloaded and installed Android Studio on your Windows 10. You can start creating your first project by clicking on Start a new Android Studio project. Thank you for being with us till the end. We hope that you have found this guide helpful.

![How to Take A Screenshot on Windows 11? [Quick & Easy]](https://www.softrar.com/wp-content/uploads/2023/02/how-to-take-screenshot-on-Windows-11.jpg)