
How to install or enable hyper v on windows 10?
Like any other virtualization software, Hyper-V is another software that is used to perform virtualization. Hyper-V is a built-in virtualization software used to perform virtualization inside the Windows server and OS.
Hyper-V is available in most of the latest versions of Windows operating systems however, to use it you will need to enable the Hyper-V on your Windows. Which takes us to this article, where we will show you how to enable it using this easy method.
Remember enabling the Hyper-V on any Windows OS is completely the same. Once you get the idea of enabling then you will be able to perform on any Windows that you like.
Table of Contents
What is Hyper-V?
Microsoft Hyper-V is a native hypervisor used to create virtual machines on Windows. It is one of the most famous virtualization software standing right beside with VMware, Virtual Box, and Parallels.
Hyper-V was introduced for the first time on Windows client OS in Windows 8. Later on, it was also found on Windows 8.1 and now it is commonly present in two of Windows 10 editions.
The application was embedded in Windows 8 for IT professionals to move VMs from server to client without the requirement to re-learn the Hyper-V features and tools.
The same feature is also present in Windows 8 and in Windows 8.1 or 10. Still, the features were improved as compared to previous versions. Features like enhanced session mode, enabling high fidelity graphics for connections to VMs using the RDP protocol, and USB redirection are also added in the latest Windows versions.
In Windows 10 series only Windows 10 Pro and Windows 10 Enterprise posses Hyper-V. Any Windows 10 editions like Home doesn’t have the application inside.
For the first time, the application was released was in 2008 on Windows Server 2008 and was delivered through Windows update. However, as a built-in was provided in Windows server 2012 R2 in 2013. Users can download the app and install it on their Windows 10 OS.
What are the system requirements?
To install Hyper-V on any Windows OS, the system should be supporting 64-bit architecture based computer. There is also a need for about 4 GB of RAM memory and more than 15 free storage.
However, if you are performing any substantial work then we would recommend you have at least 8 GB of RAM memory and 32 GB of free storage.
Enable your Hyper-V on Windows 10
Creating any virtual machine on your PC using the Hyper-V is as easy as any other virtualization software. Here is how we have turned on our Hyper-V on Windows 10.
1- Configure BIOS first
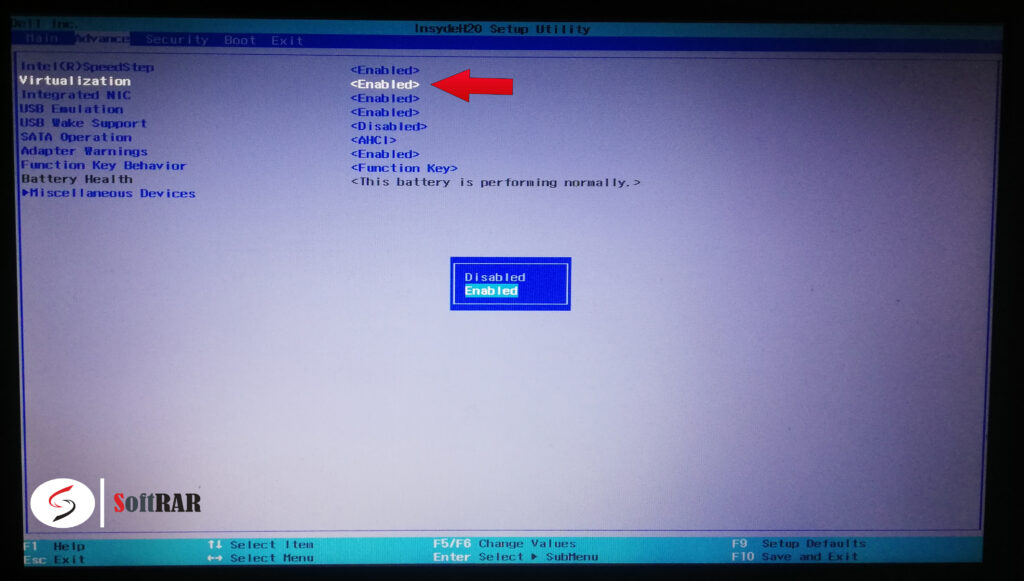
The first thing is to do is to configure the BIOS. There is a great chance that the virtualization option is disabled in your BIOS which can lead to a number of problems.
So, turn off your Windows PC and restart your system. While your system is booting, press the F2 key to enter the BIOS. Once you are in BIOS go to Advance.
Now, enable the virtualization technology in your BIOS which is right under the system security. Apply the changes and exit.
Restart > F2 (BIOS) > Advance > Enable > Save changes and exit.
2- Turn Windows features on or off
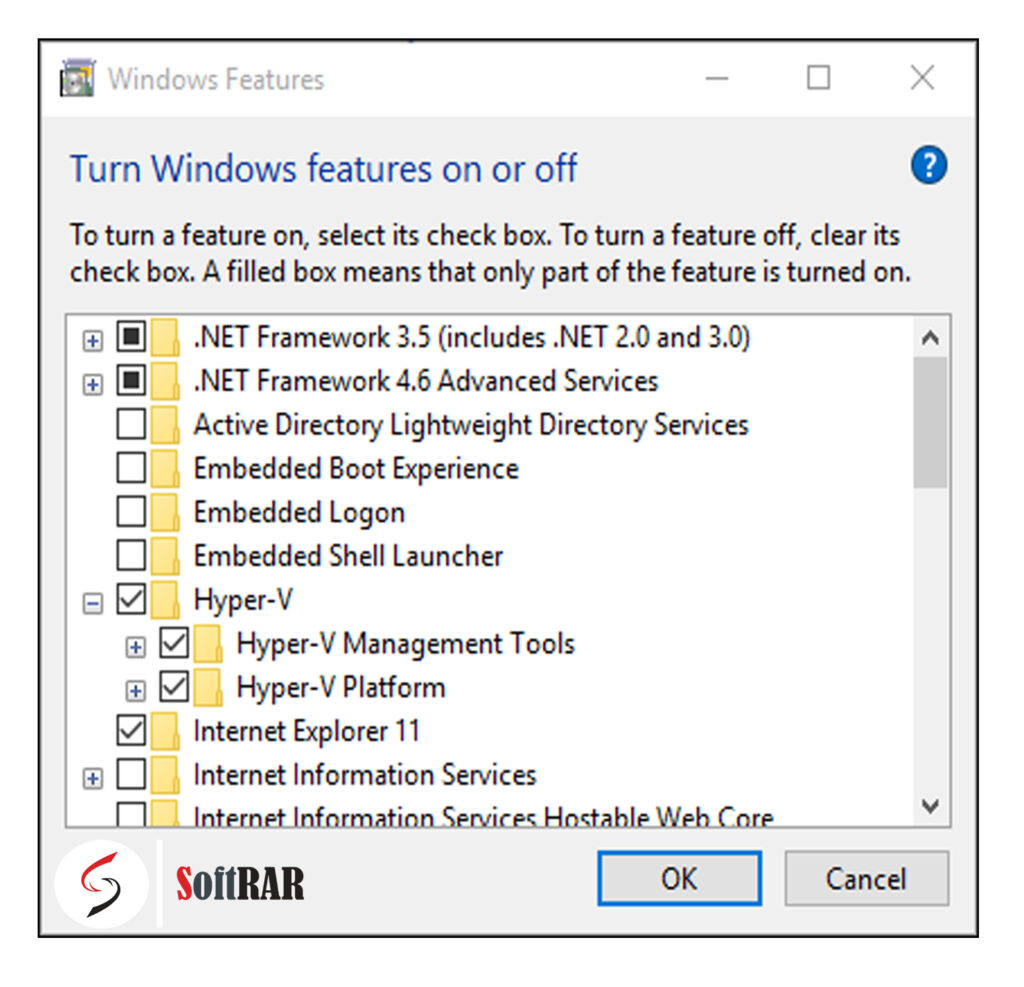
After changing the BIOS your system will reboot. Once your system is started, go to Control Panel > Programs > Turn Windows features on or off.
Check for all Hyper-V options. Make sure you have select all the components, as some of them need additional attention. After selecting all the components, click on the OK key and restart your system and that is it. Now, you will open the Hyper-V application and configure it. Before moving to that step, here are some other methods to enable hyper-v.
Enable Hyper-V using PowerShell
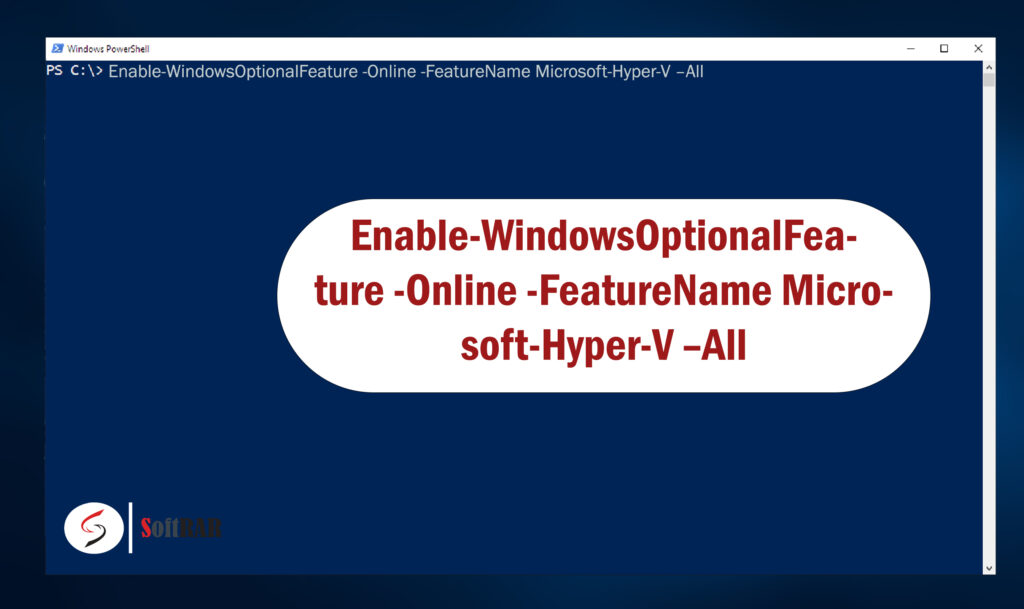
You can also enable it using PowerShell. Open PowerShell on your system as admin. Now, type the following command and run it.
Enable-WindowsOptionalFeature -Online -FeatureName Microsoft-Hyper-V –All
Restart your system and you are ready to go.
Enable the Hyper-V with CMD or DISM
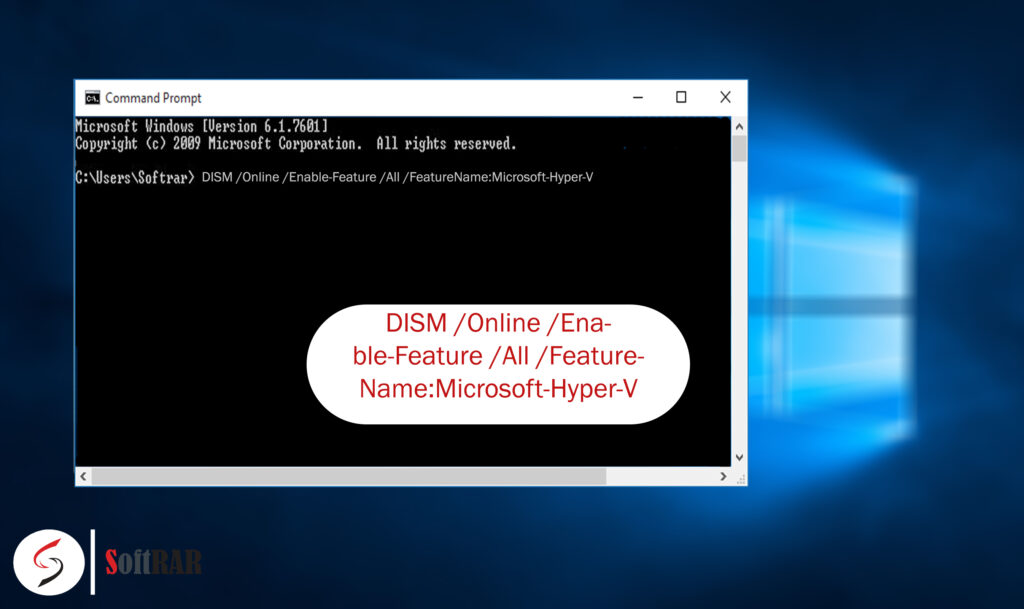
Deployment Image Servicing and Management tool (DISM) helps to configure Windows and Windows images. DISM is the only method where you can enable your Hyper-V on your Windows 10 without the need to reboot it. Here is how to enable it while your system is running. Here, you will need to open the PowerShell or CMD as admin.
Run the following command:
DISM /Online /Enable-Feature /All /FeatureName:Microsoft-Hyper-V
Remember you will need to run the applications in both method as admin or you won’t see the result.
3- Configure Hyper-V for the first use
Bravo! You have enabled your Hyper-V now. Still, there are some works that you will need to do before using the application. You can’t directly use the application, as it needs to be configured first.
My Hyper-V Manager won’t appear on my Windows 10?

It is quite hard to find Hyper-V, as most of the time it won’t appear in the Start menu. Here is what we recommend for you. To make it easy to get, you will need to add it as a Snap-in component to a blank MMC console.

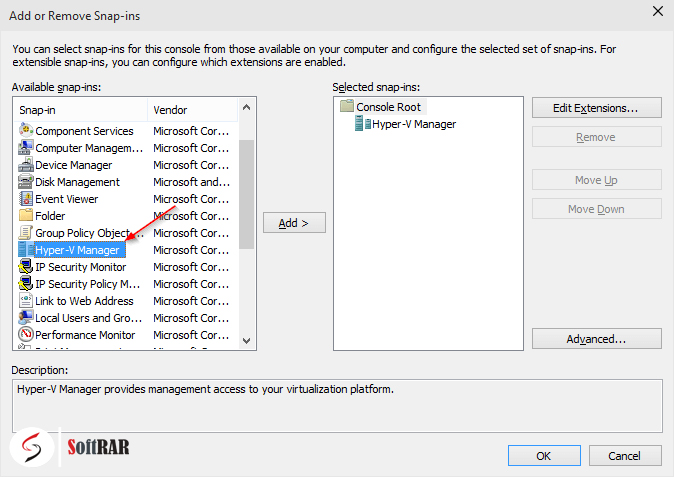
Just open the Start and type “MMC”. Open it and go to File > Add/Remove Snap-in, add the Hyper-V manager by clicking on it and pressing on Add> button. Click on Ok, you can now use your application.
Open Hyper-V manager
On your screen below the Hyper-V Manger you will find another host. Right click on the Host and select the Virtual Switch Manager…
Select one of the option between the three options. You can select External, Internal or Private.
- External is helpful, if your virtual machine needs to get access to a physical network directly.
- Internal is used, if there is no need to have access to physical network.
- And last Private. It is a virtual machine that only run on this host only.
Select one of the following options and click on Ok.
4- How to create a virtual machine on Hyper-V?

Create new virtual machines by clicking on the Action button on the top menu. Clicking on Action will open drop-down options where you will need to click on New then Virtual Machine…
Select the name and location, here you will select the place where your folder for your virtual machine is created and what will be the name.

Choose the generation for your virtual machine. Generation 1 supports 32-bit and 64-bit guest operating systems and provides virtual hardware that has been also available in previous versions of Hyper-V. The Generation 2 support new virtualization features, has UEFI-based firmware, and requires 64-bit guest OS.

Select the RAM memory (Assign memory) you want to give to your new virtual machine. This can vary according to the operating system you are using.
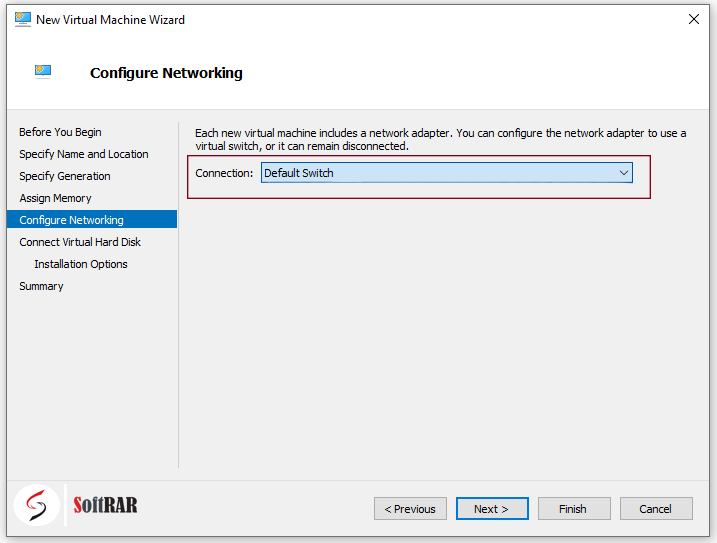
Configure network, for selecting connection of your virtual machine.
Create a virtual hard disk section, select the create a virtual hard disk. There name it, define the location, and put the size and click on Next.
Then you will be moved to Installing option– click on Install on operating system later and you are ready to use your new virtual machine in Hyper-V inside your Window 10.
How to check if hyper-v is enabled or not?
To check either your Hyper-V enabled on your system or not. You will need to open your PowerShell application and type:
Get-WindowsOptionalFeature -Online -FeatureName Microsoft-Hyper-V
If your application is enabled then you will see something like this:
FeatureName: Microsoft-Hyper-V
DisplayName: Hyper-V Platform
Description: Provides the services that you can use to create and manage virtual machines and their resources.
RestartRequired=: Possible
State: Enabled
CustomProperties:
Is there any way to activate Hyper-V with CMD?
Of course, you can enable your Hyper-V with your CMD. In fact, this is the easiest way to enable it. You will need to run the CMD as admin. Type the following command and run it.
DISM /Online /Enable-Feature /All /FeatureName:Microsoft-Hyper-V

