
How to Install WSL (Windows Subsystem for Linux) on Windows 11?
If you are familiar with WSL and how good it is, then you will love this one. Here we are going to install Windows Subsystem for Linux (WSL) on Windows 11. Till the release of Windows 11 v22000, there is was no support for WSL. However, after the release of Windows 11 v22000, users are able to use WSL on their Windows 11.
Related Topic: Download Windows 11 32-bit and 64-bit [Official]
Table of Contents
WSL on Windows 11
Before we continue on installation, let’s know WSL. WSL was released as an anniversary update of Windows 10 in 2016. However; due to poor performance and app compatibility, WSL2 was released in June of 2019. WSL2 was support via Hyper-V hypervisor on Windows 10.
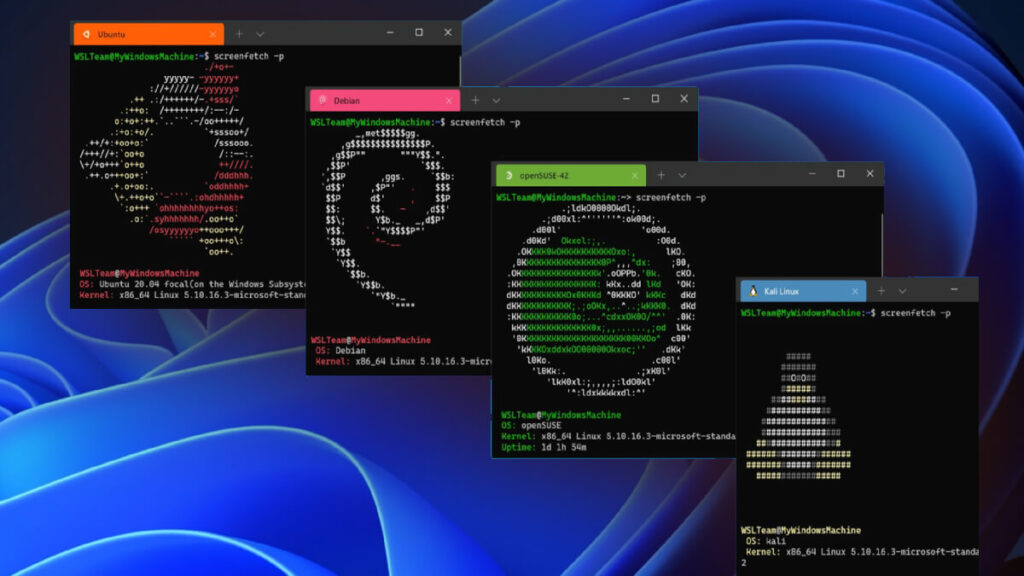
WSL was a command line-based utility in the past. However; in Windows 11, Microsoft has also added the option of GUI (graphical user interface) and sound too.
Enable Virtual Machine Platform on Windows 11

It is recommended to enable the Virtual Machine Platform on your Windows 11 before you install WSL. VMP will improve performance and give stability to WSL too. To enable the WSL, you will go to:
Turn Windows Features ON or OFF and there you will find the Virtual Machine Platform. Check it and click on OK. Now restart your system and you can continue to Windows Subsystem for Linux on Windows 11 installation.
How to install Windows Subsystem for Linux on Windows 11?
To start the installation, you will need to run CMD or PowerShell as administrator. Running them as administrator is an important part, else you will experience the “The requested operation requires elevation” error which we will discuss later.
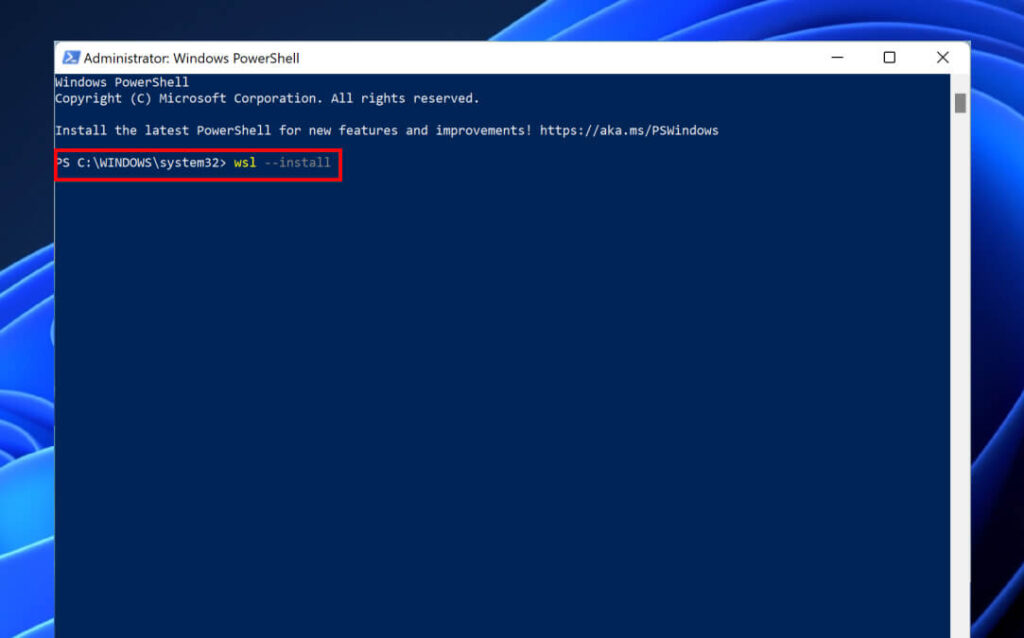
Now you will type the command below on CMD or PowerShell.
wsl –installThe command above will download and then will install the WSL on Windows 11. Not only WSL but will also install Ubuntu too. Ubuntu is installed as default on any standard Windows OS or even on Enterprise editions. To install a specific flavor of Linux then the method is given after this section. Now give your system a restart to enable the WSL.
After the installation of WSL on Windows 11
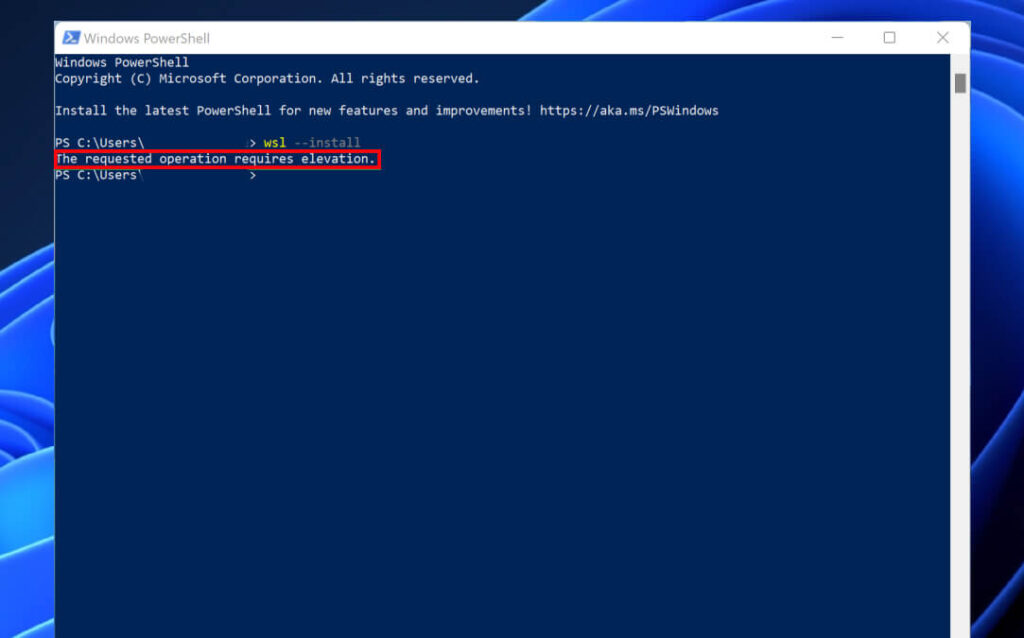
As we mentioned before, there will be a “The requested operation requires elevation” error on your CMD after the restart then you will need to run your CMD as administrator again. You are experiencing the error, as you haven’t run the CMD as admin.
Once you run CMD as admin, you will use the command below:
wsl –install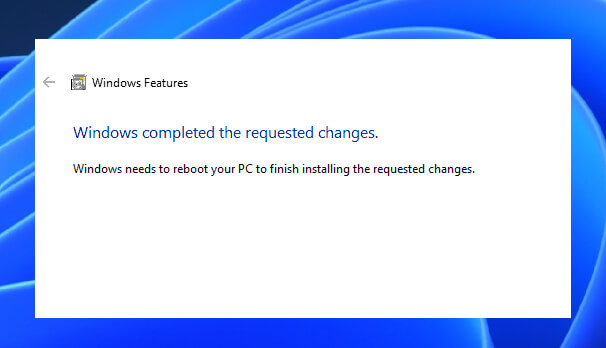
The command above will install the WSL again and soon the process will begin. Again you will restart your system to enable the WSL. On new arrival, you will be asked for User and Password. Insert a password and user for creating one for WSL.
Install Different flavor Linux on Windows 11
If you are interested in installing different flavors of Linux as subsystems then you can use these two different methods.
- You can either use the CMD
- Or you can use built-in apps
Using CMD for Linux on Windows 11
For this method, you will run CMD as administrator. Then you will use the command below:
wsl --list –online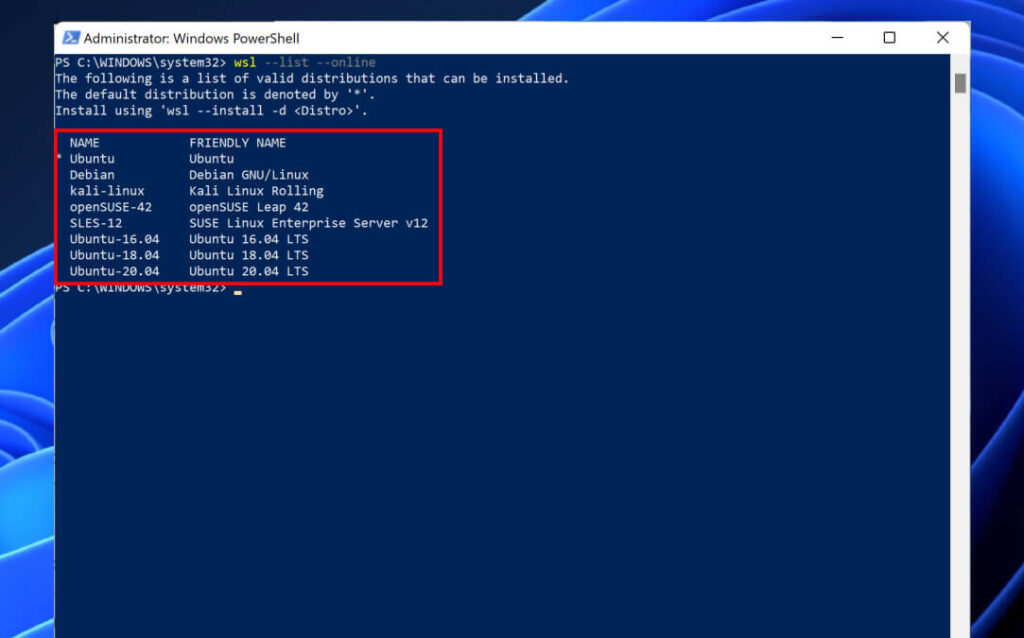
with the command above, you have delivered a command asking for a subsystem list available. Here you are going to select any of the Linux flavors from your screen and will use it in your next command. Your command should look something like this:
wsl --install -d <Distro>Related Topic: How to Install WSL2 on Windows Server 2019?
Other method for Linux Subsystem on Windows 11
Users who are not comfortable with CMD can use this method to install any of their favorite Linux subsystems. For starting the procedure, you will type “optionalfeature.exe” in the Start menu.
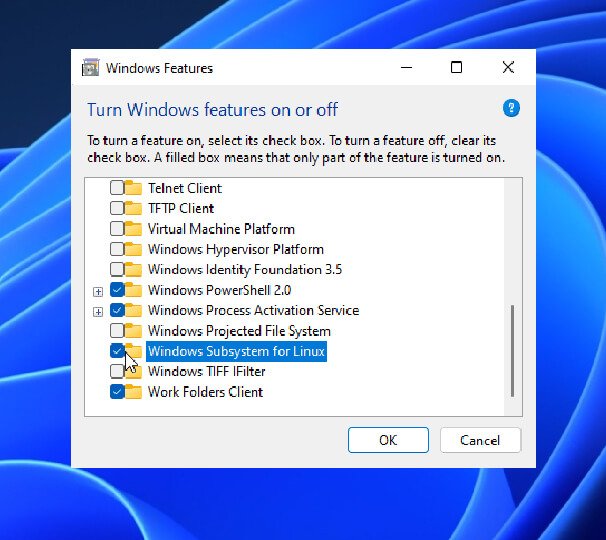
Now run the Optionalfeature.exe and you are placed in Turn Windows Features ON or OFF. Navigate and find the Windows Subsystem for Linux, check the box beside it, and click on OK.
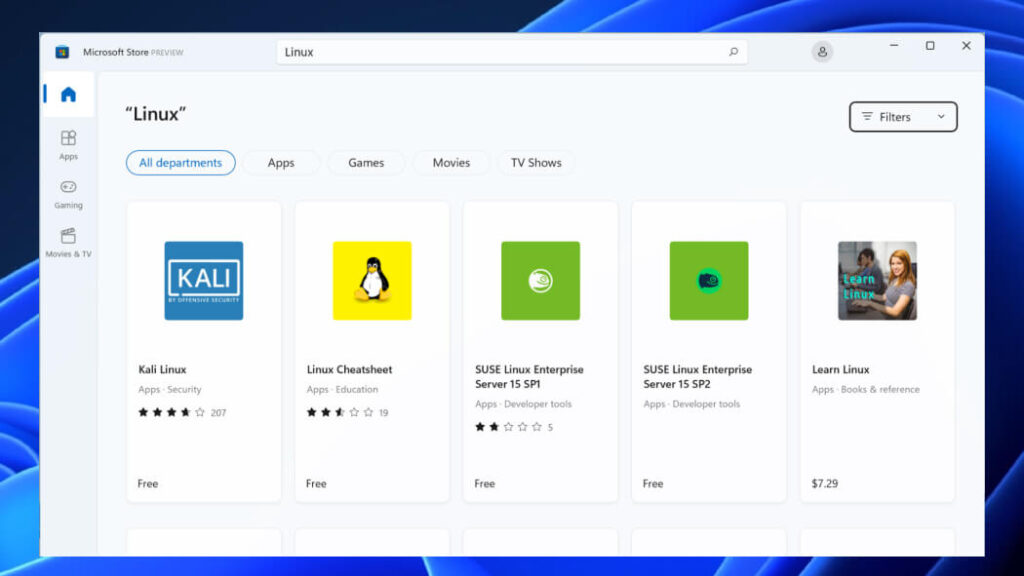
Restart your Windows 11. At the start of Windows 11, you will see a window with Windows completed the requested changes. Close it and go to Microsoft Store which is at the Start menu.
Then you will search for “Linux” inside the Microsoft Store. Select any of the Linux flavors that you like and install them.
Once the installation got completed, you will restart your system again.
How to check WSL on Windows 11?
After the installation, if you got concerns about the WLS; either it is working or not, then you have to check it by performing this method.
You will open the Start menu and then run Windows Terminal as administrator. Now click on the + button and select Ubuntu (which is by default).
Go to the Start menu and launch Ubuntu. To check the Linux, you will install the TuxRacer and will play it.
NOTE: the game is only available for Ubuntu and Debian distro.
Inside the Linux, you will open the Terminal. Then you will type the following commands one by one.
sudo apt update
sudo apt upgrade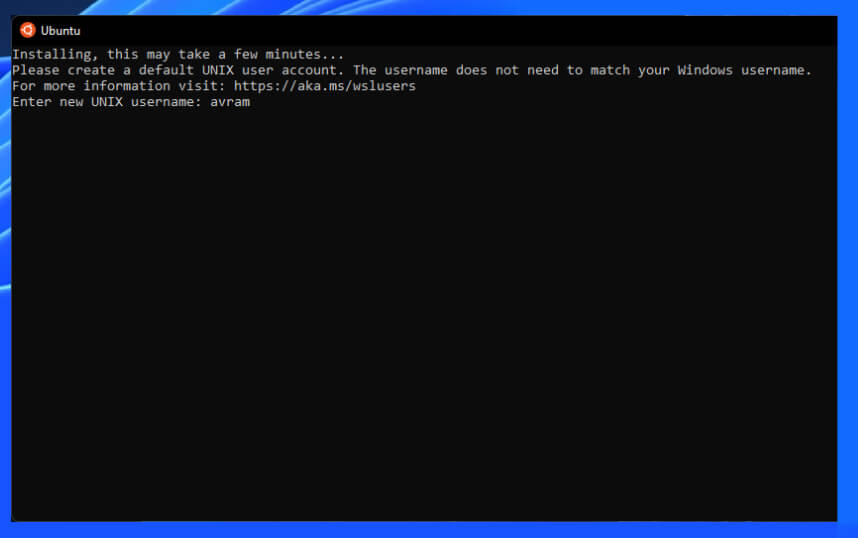
Once the operation got completed then you will begin the installation of the game. For the installation of the game, You will use the command below:
sudo apt install extremetuxracerType Y and press Enter to confirm the command. When the operation got completed, then you will check the game on the Start menu.
Related Topic: How to Download Linux Subsystem for Windows 10?
Update WSL Kernel
If you want to update your WSL Kernel after installing Windows Subsystem for Linux on Windows 11 then you will use this method. First, you will run CMD as administrator. Then you will use the command below:
wsl –updateHere the command is updating the WSL Kernel. Once the update got completed, you will restart your system, and congratulation, you have successfully updated the Kernel.

