Fixed: Service Host Windows Management Instrumentation High CPU

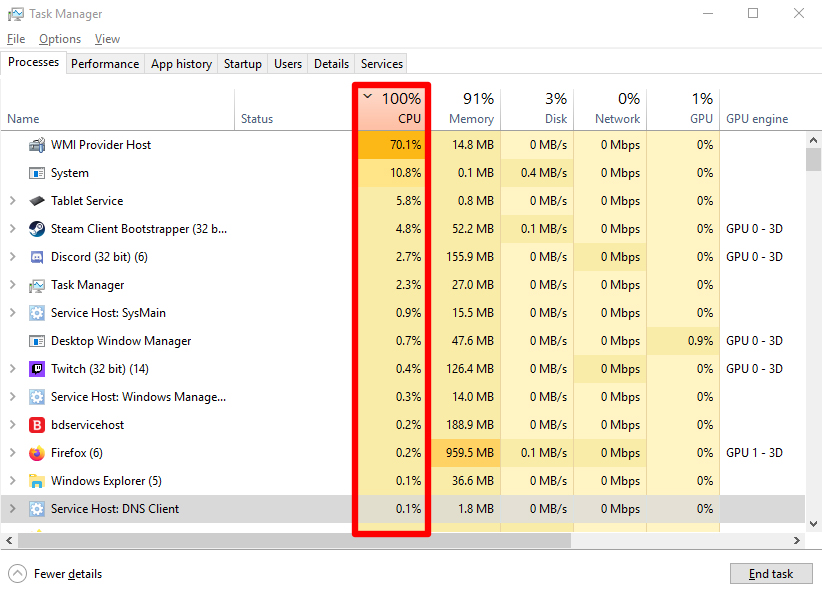
Let’s be real. You open Task Manager to figure out why your PC sounds like a jet engine… and boom — you see Service Host: Windows Management Instrumentation eating up your CPU like it’s at an all-you-can-eat buffet.
If this sounds familiar, you’re not alone. As I’m going to walk you through exactly how to fix the “Service Host Windows Management Instrumentation High CPU” issue. And yes, it’s 100% beginner-friendly — even if you’ve never messed with Windows services before.
I’m Chloe Zofie, founder of Softrar, and I’m here to help you optimize your system like a pro — no fluff, just actionable fixes.
Let’s dive in.
Table of Contents
What Is Service Host: Windows Management Instrumentation (WMI)?
Before we fix the problem, let’s talk about what it actually is.
Windows Management Instrumentation (WMI) is a core Windows component that allows software and system admins to request and manage system information — things like temperature sensors, installed programs, hardware stats, and running processes.
And Service Host is basically how Windows runs WMI as a shared background process.
The kicker? WMI should never use a ton of CPU. So if it is, something’s wrong — likely another app is abusing it or triggering constant requests.
Let’s fix that.
Step 1: Restart the WMI Service
This is the digital equivalent of turning it off and on again — and sometimes, that’s all it takes.
Here’s how:
1. Press Win+R and type “services.msc”, then hit Enter.
2. Find Windows Management Instrumentation.
3. Right-click and select Restart.
Give it 30 seconds, then check Task Manager again.
Still high? No worries. We’re just getting started.
Step 2: Identify the Culprit Triggering WMI
WMI rarely misbehaves on its own. Usually, another app or service is spamming it with requests — causing high CPU usage.
Use Event Viewer:
1. Press Win+X and select Event Viewer.
2. Navigate to:
Applications and Services Logs > Microsoft > Windows > WMI-Activity > Operational
3. Look for Error messages.
4. Click an error, then find the ClientProcessId in the details.
Match PID to a process:
1. Open Task Manager > Details tab.
2. Match the PID to the app using WMI excessively.
That app is your troublemaker. Uninstall, disable, or update it.
Step 3: Run a Full Malware Scan
Malware is notorious for disguising itself as system processes like WMI.
Recommended tools:
Windows Defender (built-in)
Malwarebytes (free + powerful)
Run a deep scan, remove any threats, and reboot. Sometimes that’s all it takes.
Step 4: Use Safe Mode + Clean Boot
This helps isolate whether the problem is a background service or third-party app.
Boot into Safe Mode:
1. Press Win+R, type “msconfig”, and hit Enter.
2. Under the Boot tab, check Safe boot, then restart.
If CPU usage is normal in Safe Mode, the issue is caused by a background app.
Now do a Clean Boot:
1. In “msconfig”, go to the Services tab.
2. Check Hide all Microsoft services > Disable all.
3. Reboot your PC.
Turn services back on one-by-one until the CPU spikes again. That’ll pinpoint the issue.
Step 5: Use DISM and SFC to Repair System Files
Corrupted files can mess with system services like WMI.
Run from Command Prompt (Admin):
DISM /Online /Cleanup-Image /RestoreHealthThen:
sfc /scannowLet them finish. These tools can patch missing or corrupted components without reinstalling Windows.
Step 6: Disable HP ETD Services or Lenovo Vantage (if applicable)
This one is for laptop users.
Some manufacturer utilities like HP ETD Control Center, Lenovo Vantage, or Dell SupportAssist are infamous for hammering WMI.
If you’re using one of those brands:
- Open Task Manager > Startup tab
- Disable these tools temporarily
- Reboot and see if CPU usage drops
Step 7: Reset the WMI Repository (Advanced)
Still having issues?
Time to reset the WMI repository — a last-resort but powerful fix.
Run from Command Prompt (Admin):
winmgmt /resetrepositoryThen restart your PC. This will rebuild the WMI infrastructure from scratch.
Note: This won’t delete your data, but always take a backup just in case.
Optional: Update Windows and Drivers
Yup, this one again — but hear me out.
Windows updates include patches for WMI bugs. And outdated drivers (especially network, chipset, or power) can cause WMI to go haywire.
Do this:
1. Go to Settings > Windows Update > Check for updates.
2. Install all pending updates
3. Update drivers manually via Device Manager or OEM websites
Preventing WMI High CPU Issues in the Future
Now that you’ve fixed it, let’s make sure it stays fixed.
- Don’t overload your system with bloatware
- Uninstall manufacturer apps you don’t use
- Schedule weekly scans
- Use Defender or Malwarebytes (or any other anti-malware app) to keep things clean
- Keep Windows lean and updated
- Less junk = fewer issues
When Service Host Windows Management Instrumentation starts chewing up your CPU, it can feel like your computer is broken.
But as you’ve seen, it’s almost always fixable with the right steps.
Let’s recap:
- Restart the WMI service
- Use Event Viewer to find the culprit
- Scan for malware
- Run in Safe Mode + Clean Boot
- Use DISM and SFC
- Reset the repository if needed
The key takeaway? High CPU isn’t always about hardware. A well-optimized system can run buttery smooth — even on older machines. Some users also experienced, WMI Provider Host High CPU after this error, which can be easily fixed too.
If you found this guide helpful, share it with someone who’s tearing their hair out over Task Manager right now.