
How to Remove “Activate Windows” watermark on Windows 10
You have noticed that “Activate Windows” notification on the bottom left side of your screen. Even though the notification is totally useless and does nothing. However; as time passes that notification becomes more and more annoying. So, here are going to remove Windows 10 watermark.
Table of Contents
Why are you experiencing the “Activate Windows” watermark on Windows 10?
There are a few reasons why you are experiencing the “Activate Windows” watermark on your screen.
- You are using a Windows OS with an expired product key
- The entered product key is invalid
- There is a mismatch license with the edition of your Windows 10
- ISO file of Windows 10 is probably pirated
- The license of Windows is probably exploited
- Or you have used a redistributed free version of Windows
No matter whether you are having issues with product keys, your edition of Windows is not correct or your Windows 10 is not activated at all. Here these methods are going to remove the watermark no matter what.
Related Topic: Use Activation Key TXT to Activate Windows 10
How to remove Windows 10 watermark?

We have provided seven different ways to remove the watermark on your Windows 10. Use any of the given and enjoy your OS.
1- Renew your Windows license
The first and easiest one on the list is to reactivate your current license. This is for users who are using a license and got some sort of bugs that stop the license. You are going to run PowerShell from the Start menu.
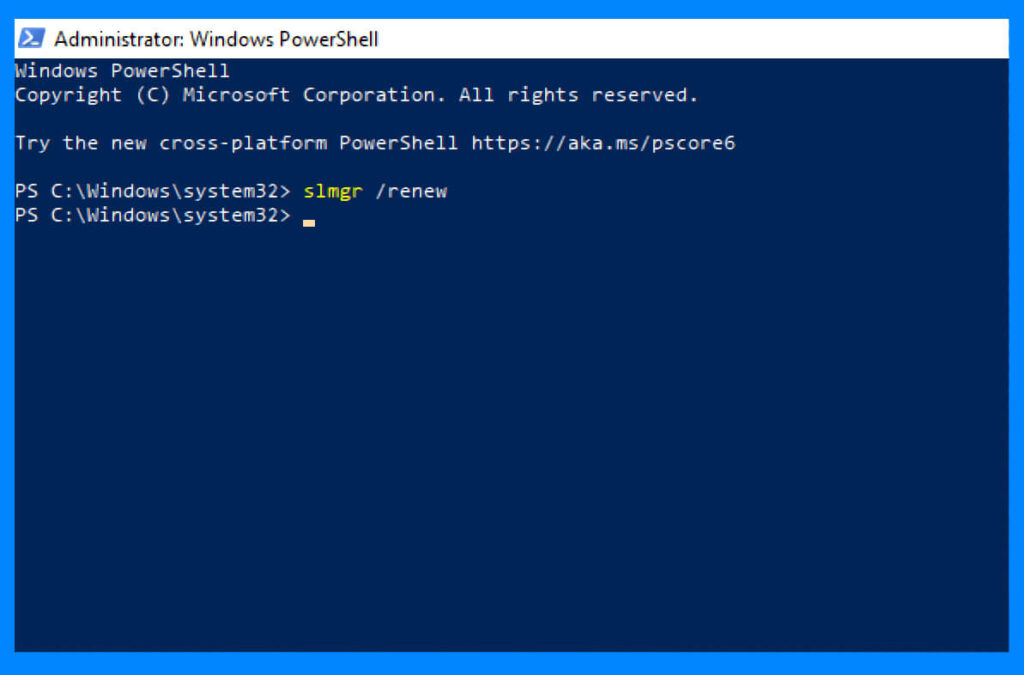
Then you will paste the command below and press Enter.
slmgr /renewSoon your Windows license is renewed and the watermark is gone. If you don’t have any license or is expired then you will need to use the next method.
2- Use Script to remove the watermark
Another method is to use a script file. For this method, you are going to open Notepad from the Start menu. Open the Notepad and paste all the commands inside the Notepad.
Now, click on the File button at the top, and click on Save as. This will open another window where you are going to save this file. Name the file anything that you want, just make you are using the “.bat” extension at the end. Your file should look something like “*****.bat” and click on Save.
@echo off
taskkill /F /IM explorer.exe
explorer.exe
exit
Here you are going to exit the Notepad. Right-click on the newly created script file and select the Run as administrator option. You will notice some CMD windows pop up and will be closed. This operation will be performed quickly, once got complete then you will restart your system.
3- Registry Editor for removing Windows 10 watermark

Being this method by opening RUN from the Start menu. Now type “Regedit” in RUN and press Enter.

You will be placed in the registry editor. Here you are going to navigate and find “HKEY_CURRENT_USER\Control Panel\Desktop.”. Inside the Desktop folder, you are going to find “PaintDesktopVersion” and select it by double-clicking on it.
Once you double-click on it a new pop window will appear. You will change the value of PaintDesktopVersion from 1 to 0. Click on OK and restart your system.
Related Topic: Best Ways to Remove Windows 11 Watermark?
4- Check for the Ease of Access Centre option in Windows 10 Settings
This is an option that is not present on all Windows 10 editions. However; some editions of Windows 10 have this option that can be used to remove the “Activate Windows 10” watermark.
Start the operation by opening the Control Panel and clicking on View mode on the top right of your screen. Here you will select the Large icons option.
Now you are going to select the Ease of Access Centre option from your screen. Find the Make the computer easier to see the option and click on it. Click on Explore all settings section and scroll down to find the Remove background images (where available) option. Select the option and click on Apply button.
Restart your system and find the watermark of Windows 10 totally removed.
5- Use Third-party applications to remove Windows 10 watermark
This one is the simplest one. You are going to download Universal Watermark Disabler tool from this link here. It will help you to remove the watermark within clicks. Begin the procedure by using tools such as WinRAR to extract all the files.
Once extracted, you are going to double-click on the setup file. Now click on the Install button and in the next window click on Yes.
To save your work, you are going to click on OK. Restart your system and your watermark is removed.
6- CMD for removing watermark
Run CMD as administrator from the Start menu and paste the given command.
bcdedit -set TESTSIGNING OFFThe command above will remove the watermark for most of the users. Since it is not applicable to all editions or versions of Windows 10, then you are going to use the last and most effective one in the next section.
Related Topic: How to fix Windows 10 Activation Error 0x803f7001?
7- Activate Windows 10
One of the best ways to remove any watermark from any Windows OS is to activate it. And here we have provided almost all the methods to activate Windows 10. We have summarized all the sections on activating Windows 10. However; if you want to know about the methods then you can click on the links to get the full guide with images illustrated.
1: Use the Product key to activate Windows 10
The first one is the most obvious one. You are going to use product keys to activate your Windows 10. There are two different options, either you can search the web and buy product keys or you will click on this link here to get your product keys for Windows 10 for free.

Once you got your product keys then you are going to Settings > Update & Security > Activation and then go to Change product key. Here you will find a section for product keys.
Enter your product keys and activate your Windows 10. After the activation, you will notice that there is no more watermark on your Windows 10.
Related Topic: How to Activate Windows 10 without a product key
2: Activate with KMSpico to remove the watermark from Windows 10
KMSpico is the most powerful and stable tool to activate Windows 10. You are going to click “Download KMSpico Windows Activator for Free” to download KMSpico. After downloading there is no need for any kind of installation, as the tool is used directly.
Double click on the KMSpico tool to run it. A small window will pop up on your screen. Here you will select your Windows 10 and will click on Activate button to activate. The entire procedure is as simple as it sounds. There are no hidden steps or charges for the activation, run the app and use it. Click here to download other activators for Windows 10.
Last words on removing Windows 10 watermark
Having an “Activate Windows 10” notification on your Windows can be quite annoying. Instead of bearing the notification, you can use any of the given methods above to remove the watermark. All the methods are easy and quite simple to perform. If you got any issues or questions related to any of the procedures, make sure to comment down. As this might help other users with the same issue that you are experiencing now. And we will get to that question or issue as soon as possible.

