Enable or Disable Apps ViVeTool on Windows 11: Unlock Hidden Features

Ever heard of enable or disable ViveTool on Windows 11? No? Well, buckle up—because today I’m showing you how to use ViveTool to unlock secret Windows 11 features, enable hidden UI tweaks, and disable experimental apps that Microsoft didn’t want you messing with.
So, let’s go deep into:
- What ViveTool is
- How to download and install it
- How to enable hidden apps and features
- How to disable experimental app features
- How to check feature status?
- Safety tips to prevent crashes
Let’s do it.
Table of Contents
What Is ViveTool?
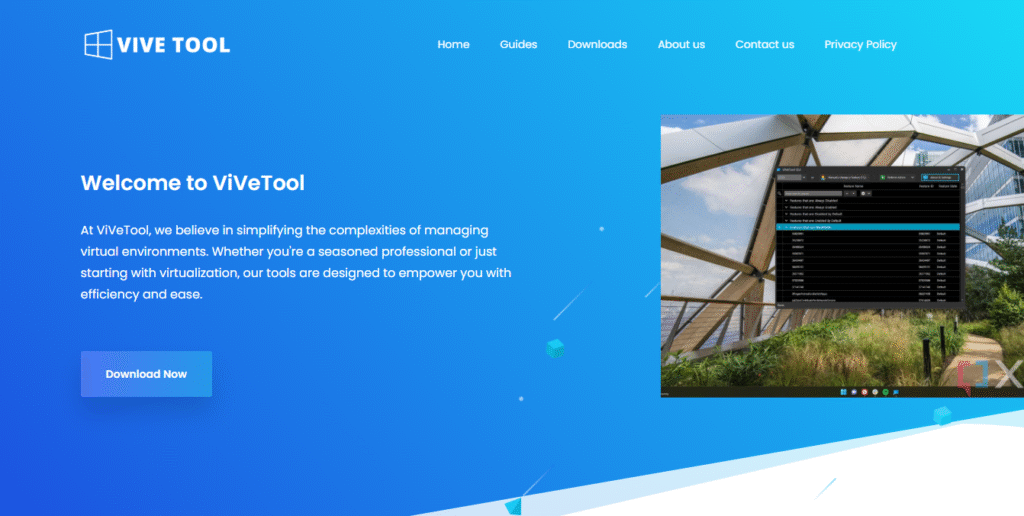
Think of ViveTool as a secret control panel inside Windows 11. It lets you toggle hidden features–called feature flags–that Microsoft has tucked away. Imagine maps, widgets, tooltips, start menu options, or even early AI features locked behind walls; Vive Tool gives you the keys.
It’s open-source and supports both Command-Line (CLI) and GUI versions. While the GUI is simpler, the CLI is more powerful and always up-to-date.
Why Use ViVeTool?
Let’s make this concrete:
- Want to test cool new features before official release?
- Looking to turn off intrusive preview apps?
- Curious about your system’s hidden upgrades?
ViVeTool lets you do all that with just a few commands—and trust me, you’ll feel like a Windows wizard.
Step 1: Download and Install ViVeTool
We will begin with downloading & installation.
A. Download the Files
Head over to the official ViVeTool GitHub or use vivetool.com. Download the latest ZIP file (e.g. v0.3.3).
B. Extract to a Folder
Unzip it into a convenient directory like “C:\ViVeTool\”.
C. Launch with Administrator Rights
- Search for CMD (command prompt) in Start.
- Right-click and select Run as administrator.
- Change directory:
cd /d C:\ViVeTool- Type “vivetool” and press Enter—you should see a list of available commands.
Step 2: Enable Hidden Apps or Features
Here’s where the magic begins:
1. Choose a feature ID—like for new UI tweaks or app functionality (find IDs on Windows Insider forums or GitHub).
2. Run:
vivetool /enable /id:<feature-id>3. Restart your PC and watch the new feature come to life.
For example, users recently enabled the hidden Phone Link flyout using IDs 48697323 and 48433719.
Step 3: Disable Experimental Apps
Enabled something buggy? No problem.
- Use:
vivetool /disable /id:<feature-id>- Restart
- Enjoy the stability again
This is perfect for reversing changes like aggressive start-menu updates some Windows 11 devs had to troubleshoot.
Step 4: Check Feature Status
Want to confirm if a flag is enabled or disabled?
Run:
vivetool /query /id:<feature-id>You’ll see:
“0 = Default”
“2 = Enabled”
“1 = Disabled”
Step 5: Safety and Best Practices
Enabling hidden features is powerful—but it can break things. Here’s how to stay safe:
Back up your data or use a System Restore point
Test within a virtual machine first
Follow trusted sources (Insider forums, XDA, Reddit or drop down a comment, so I could help you)
Be prepared to disable features if instability arises
Real-World Example: Restore Phone Link Flyout
When Phone Link disappeared from the Start menu in Windows 11 Dev Insider build 26200.5603, the fix was:
vivetool /enable /id:48697323,48433719Restart, and boom—it’s back.
This example underscores how live and effective ViVeTool can be.
Troubleshooting ViVeTool Issues
No output from “vivetool”?
Make sure you’re using an Administrator command prompt
Confirm you’re in the right folder
Feature doesn’t activate/re-enable
- It might be OS-version dependent
- Double-check the correct feature ID
System crashes or Start menu glitches
Reverse the change with:
vivetool /disable /id:<feature-id>Restart for a clean state
Advanced Tips for Power Users
1. Batch-enable multiple IDs at once:
vivetool /enable /id:1234 5678 90122. Undo everything:
Reset individual features:
vivetool /disable /id:<feature-id>3. Stay updated
Keep GitHub releases and forums bookmarked—they often share fresh IDs.
Why ViVeTool Matters?
Early access to next-gen Windows features
Custom Windows Experience tailored to your taste
Control and streamline your OS, keeping only what matters
With great power comes great responsibility. But if you’re reading this, you’re ready to level up.
Summary: Enable or Disable Apps with ViVeTool on Windows 11
Here’s your quick checklist:
1. Download ViVeTool ZIP
2. Extract to folder
3. Run CMD as Admin
4. Enable or disable feature IDs
5. Restart to apply
6. Backup & test first
7. Revert changes if anything breaks
Final Thoughts
If you’ve ever wished you could tinker with hidden Windows features—or lock down unstable preview apps—enable or disable vivetool on Windows 11 is your ticket. It’s a game-changer, giving you control most users don’t even know exists.
Tinker, test, and tailor your build. Just remember—proceed with caution and always back up. That’s the hallmark of a power user.
– Chloe Zofie


