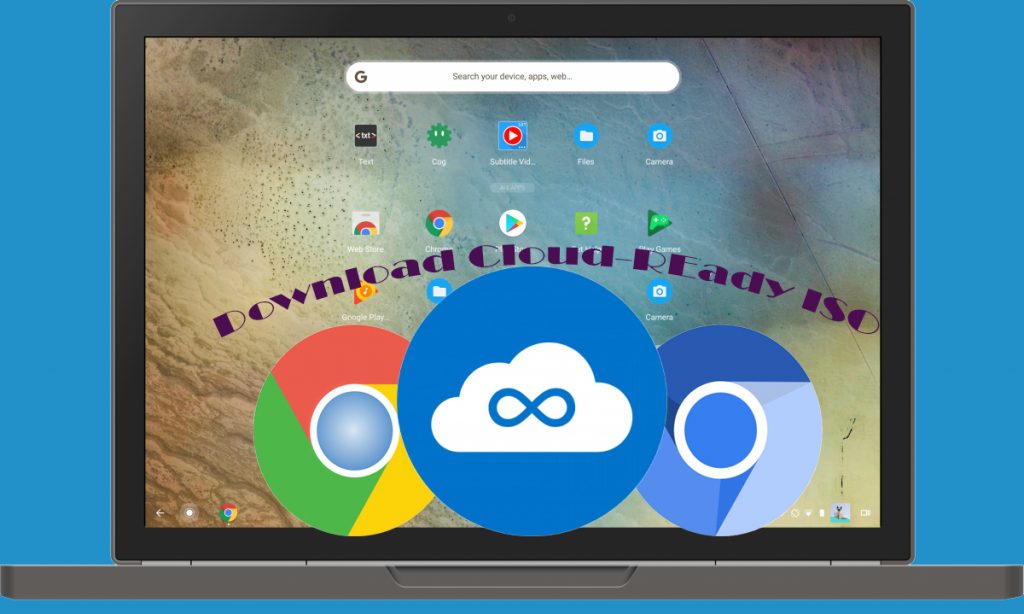
Download Chromium OS ISO file- Cloud Ready
If you have ever wondered the UX (user experience) of Chrome OS but was unable to buy Chromebook as it is expensive. Then we have brought you Chromium OS which is exactly the same. Nevertheless, you are not spending even a single penny.
Chromium is a Linux Kernel-based operating system and uses the Google Chromium Web Browser as primary UI. The first Chromium OS was announced in 2009 and was officially distributed in Chromebooks in 2011.
Download Chromium OS

File: CloudReady Zip
Size:
Type:
Last update:
For all those users who are using mac please click here to download it for Mac. And for those Chromebook users who want to upgrade their Chromebooks please click here Chromebook.
Overview
Chromium OS is an operating system developed by Google. It was created to provide power to computers and laptops.
Chromium OS is an open-source operating system developed to provide a safe, fast and simple UX to all those users who are spending most of the time on the web.
The Chromium OS uses Portage Package Manager which was originally developed for Gentoo Linux.
Since Chromium OS is using a web-based UI then instead of using desktop-based applications, it is using web-based applications.
You should keep in mind that you cannot download Chrome OS. And nor there is a reliable source to download Chromium OS and we cannot risk your data any harm. Still, we have found that there is an option to download Chromium-based OS. You can experience the Chromium OS by downloading Cloud Ready.
Cloud-Ready is basically a better version of Chromium OS for the users. Cloud-Ready can change any computer into a Chrome device. It can also be used for multiple purposes like business, school or home.
Neverware is the company that developed Cloud Ready. Neverware is officially supported by Google.
Installations

Installing Cloud Ready on your system is easy and can be done within few minutes. But before preceding any further you need to perform a few things.
- System Compatibility
- A USB pen drive of 8GB or greater
- Software to create a bootable USB drive
- Network connection
Network connection
Remember that the Internet is a crucial part of the installation. You need internet while installation, we would recommend you to use Ethernet cable instead of Wi-Fi.
System requirements
You need to have at least 2Gb of RAM and 16GB of free storage space. We would also like to recommend you to use a 64-bit architecture-based computer instead of 32-bit. As by the end of 2019, it is no longer supported.
A USB drive
You will need a USB which should be at least of 8GB and you will also need 20 GB of storage on your computer for the installation.
Bootable Creation software
Now, you have to download and install a bootable creation software. USB maker is officially recommended by the Neverware (the owner of CloudReady).
- Download
The first step is to install the ISO file. We have provided you the ISO file of Cloud Ready as Zip archive.
2. Extract
The second step is to extract the zip file. You extract it by using any extraction software.
3. Create a bootable USB
The next step is to create a bootable USB. You can create a bootable USB of Cloud Ready by using a USB installer as guided before. Use the software and create a bootable USB of Cloud Ready.
4. Reboot
As now you have created a bootable drive, reboot your system.
5. Install
The last step is to install the OS. You will need to go to BIOS by pressing “F8 orF12” keys on your keyboard. After the BIOS, you will be taken to the installation process, follow the installation as guided.
6. Live session
You are now taken to live session, check it until to get the signal of ready to install. Click on the “Install CloudReady” option in the corner of the screen.
7. Erase the disk
As you have clicked on “Install CloudReady”, the instruction will be given to you. Follow them until you reach the disk partition section. Here we want you to format all your disks for the clean installation. However still, if you have important files then just choose the drive for the installation.
8. Wait for the reboot
wait till the rebooting gets complete and you are ready to go.
Warning: Do not remove the USB drive until your system reboots. After the restart of your system, you are ready to unplug your USB and use your new CloudReady OS is successfully installed.