How To Tutorials

How to Upgrade to Windows 10 from 8.1?

Are you currently using Windows 8.1 and considering an upgrade to the latest and feature-rich Windows 10? Upgrading your operating system can provide you with numerous benefits, including enhanced performance, improved security, and access to new functionalities.

The process of “upgrading to Windows 10 from 8.1” is relatively simple, and there are different methods available to suit your preferences. In this guide, we will take you through the step-by-step process of upgrading to Windows 10, making the transition as seamless and hassle-free as possible. Get ready to enjoy all that Windows 10 has to offer!

Upgrade Windows 10 from 8.1

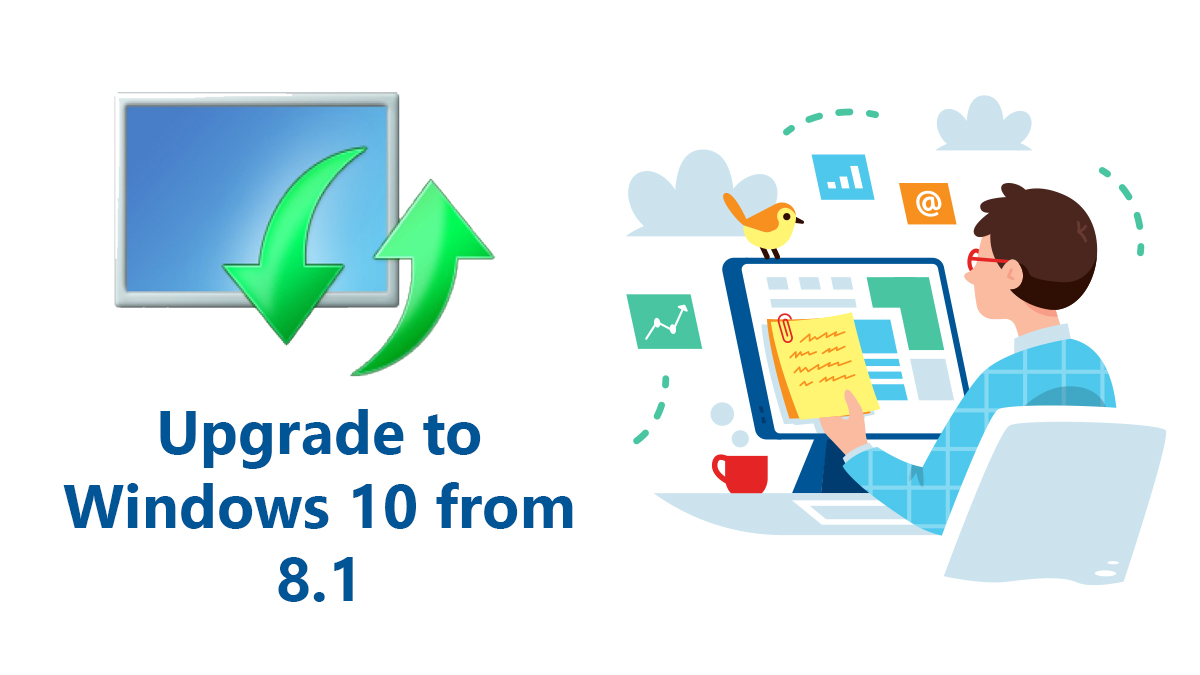
upgrade to windows 10 from 8.1

Upgrading your operating system from Windows 8.1 to Windows 10 can be a prudent decision, as it brings along a plethora of benefits and improvements. If you’ve been contemplating the idea of “upgrading Windows 10 from 8.1,” you’ve come to the right place. As we will walk you through the entire upgrade process to ensure a smooth and successful transition.

Here’s a step-by-step guide on how to upgrade to Windows 10 from 8.1:

Step 1: Check System Requirements

Before proceeding with the upgrade, ensure that your computer meets the minimum system requirements for Windows 10. These requirements typically include:

– Processor: 1 GHz or faster processor

– RAM: 1 GB for 32-bit or 2 GB for 64-bit

– Hard Disk Space: 16 GB for 32-bit OS or 32 GB for 64-bit OS

– Graphics Card: DirectX 9 or later with WDDM 1.0 driver

– Display: 800 x 600 resolution

Please note that these are the minimum requirements, and for optimal performance, it is recommended to have a more powerful computer with higher specifications.

Step 2: Backup Your Data

Although the upgrade process is designed to preserve your files, it’s always a good idea to back up your important data to an external drive or cloud storage service, just in case something goes wrong during the upgrade.

Step 3: Windows Update

Make sure your Windows 8.1 is up to date by running Windows Update. This ensures that you have all the latest updates and patches installed, which can help smoothen the upgrade process.

Step 4: Download Windows 10 Media Creation Tool

The Windows 10 Media Creation Tool allows users to upgrade their existing Windows OS to Windows 10, create bootable installation media for clean installs, update Windows 10 to the latest version, and offer language and edition selection options during the process. It may also include repair and recovery features for troubleshooting issues with Windows 10 installations. For now, we are going to use it to upgrade to Windows 10 from 8.1. So, click here to download the Windows Media Creation tool.

Step 5: Run the Media Creation Tool to Upgrade

Once you have downloaded the Windows 10 Media Creation Tool, double-click on the downloaded file to launch the Media Creation Tool.

Read and accept the license terms presented in the tool.

Upgrade this PC now
Upgrade this PC now

When prompted, select the option Upgrade this PC now and click Next.

The tool will begin downloading the necessary Windows 10 files for the upgrade. After the download is complete, the tool will check for compatibility and prepare the system for installation.

Don’t forget to select the option to Keep personal files and apps to ensure your data remains intact after the upgrade. Alternatively, you can click on the Change what to keep the option to upgrade without preserving your files and apps.

Windows 10 setup
Windows 10 setup

Click the Install button.

Step 6: Install Windows 10

Once the installation is complete, your computer will restart, and you’ll need to follow the on-screen instructions to set up Windows 10. This includes selecting your region, and keyboard preferences, and creating a user account.

  • During the initial setup, Windows 10 will ask you to choose your preferred language, time zone, and keyboard layout. Select the appropriate options and click Next.
  • Read and accept the Windows 10 license agreement to proceed.
  • Windows 10 will offer customization options, such as enabling or disabling features like Cortana, location services, and error reporting. Adjust these settings according to your preferences and click Next.
  • You’ll have the option to sign in with your Microsoft account, which can sync your settings across devices and access various Microsoft services. If you prefer not to use a Microsoft account, you can select an Offline account and set up a local account on your PC.
  • If you choose to set up a local account, enter your desired username and password. If using a Microsoft account, sign in with your existing credentials.
  • Windows 10 will present privacy settings for various features. Review these settings and choose your preferred level of privacy for each option.
  • If you’re using a Microsoft account, you’ll have the option to set up OneDrive, Microsoft’s cloud storage service, to sync your files and access them from anywhere.

Step 7: Install Drivers and Applications

After setting up Windows 10, you’ll need to install drivers for your hardware devices and applications that you typically use such as graphics cards, sound cards, printers, etc. Here’s how you can do it:

Windows 10 may automatically install some basic drivers through Windows Update. Make sure to check for updates by going to Settings > Update & Security > Windows Update and click on Check for updates.

Congratulations! You have successfully upgraded from Windows 8.1 to Windows 10. Now, you can explore and enjoy all the new features and improvements that Windows 10 has to offer. If you encounter any issues during or after the upgrade, don’t forget to comment.

Related Topic: How to Upgrade from Windows 7 to Windows 10?
Related Topic: How to Upgrade Windows XP to Windows 10?


Is it a good idea to upgrade Windows 10 from Windows 8.1?

Yes, Upgrading from Windows 8.1 to Windows 10 is generally a good idea for most users. Windows 8.1 reached the end of mainstream support in January 2018, and extended support is scheduled to end in January 2023, leaving the system vulnerable to security threats.

In contrast, Windows 10 receives regular security updates and offers enhanced performance and stability. Its user-friendly interface, improved hardware and software compatibility, and additional features make it a compelling choice. However, before upgrading, ensure that your computer meets the minimum system requirements, backup your data, and verify application compatibility. Whether you choose to upgrade directly or perform a clean installation, moving to Windows 10 provides a more secure and feature-rich computing experience.

Can I Upgrade Windows 8.1 Pro to Windows 10 Pro?

Yes, you can upgrade from Windows 8.1 Pro to Windows 10 Pro. Microsoft provides a straightforward upgrade path for users with Windows 8.1 Pro to move to the corresponding edition of Windows 10, which is Windows 10 Pro.

When you use the Windows 10 Media Creation Tool or the Update Assistant to perform the upgrade, it will automatically detect your current Windows edition and install the corresponding Windows 10 edition. So, if you have Windows 8.1 Pro, the tool will upgrade your system to Windows 10 Pro.

During the upgrade process, your personal files, settings, and applications (if you choose to keep them) will be preserved. It’s essential to ensure that your computer meets the minimum system requirements for Windows 10 Pro to have a smooth and successful upgrade experience.

Additionally, make sure to back up your important data before proceeding with the upgrade, just in case anything unexpected happens during the process.

About the author

Admin

Hey, it's your Admin. I am a tech enthusiast who is trying to improve his skills to help others. My goal is to provide solutions to different software and operating systems. If you are having any kind of problem with tech and need assistance then I am here for you.

Leave a Reply